Homemade Vegan Poptarts
What’s up 90’s babies! Poptarts were a staple in our house growing up. Strawberry and Brown Sugar were on heavy rotation. While I haven’t had the OG Poptarts in a while, I have wanted to make some for myself. And let me tell you, these did not disappoint! Poptarts straddle the breakfast/dessert line, but these for sure sit on the dessert side. But honestly, that shouldn’t stop you from eating these for breakfast!
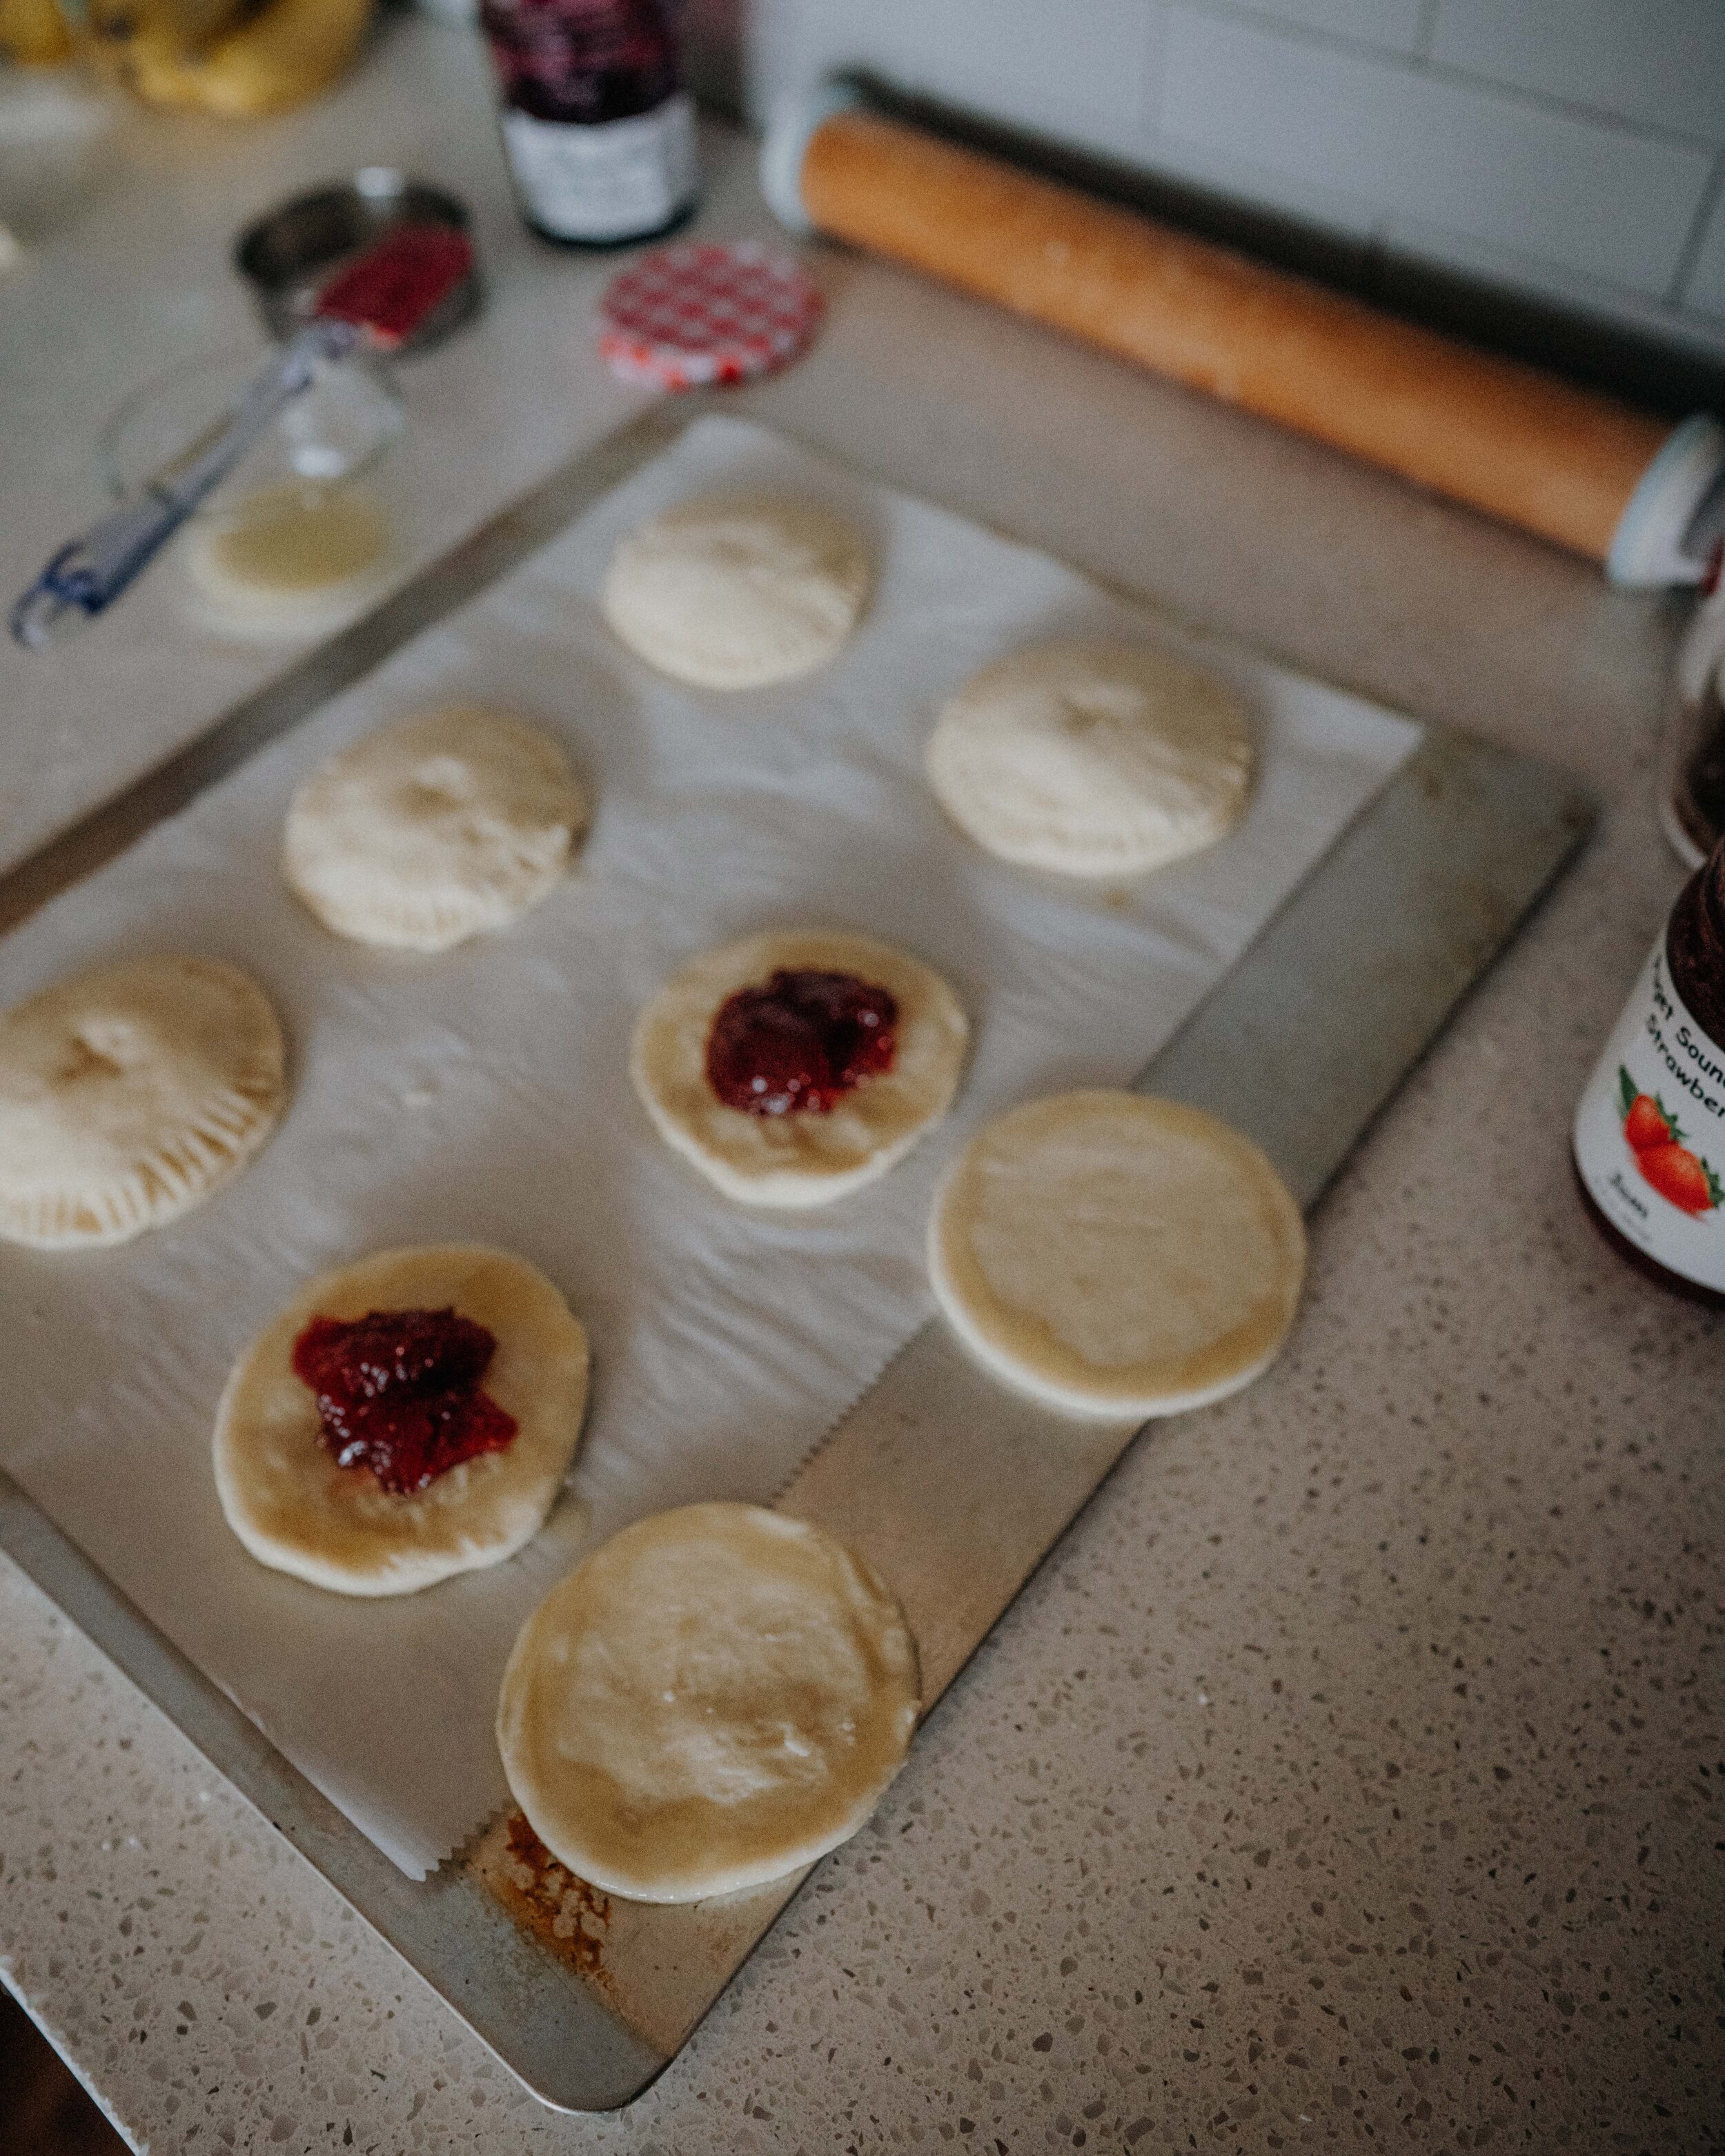

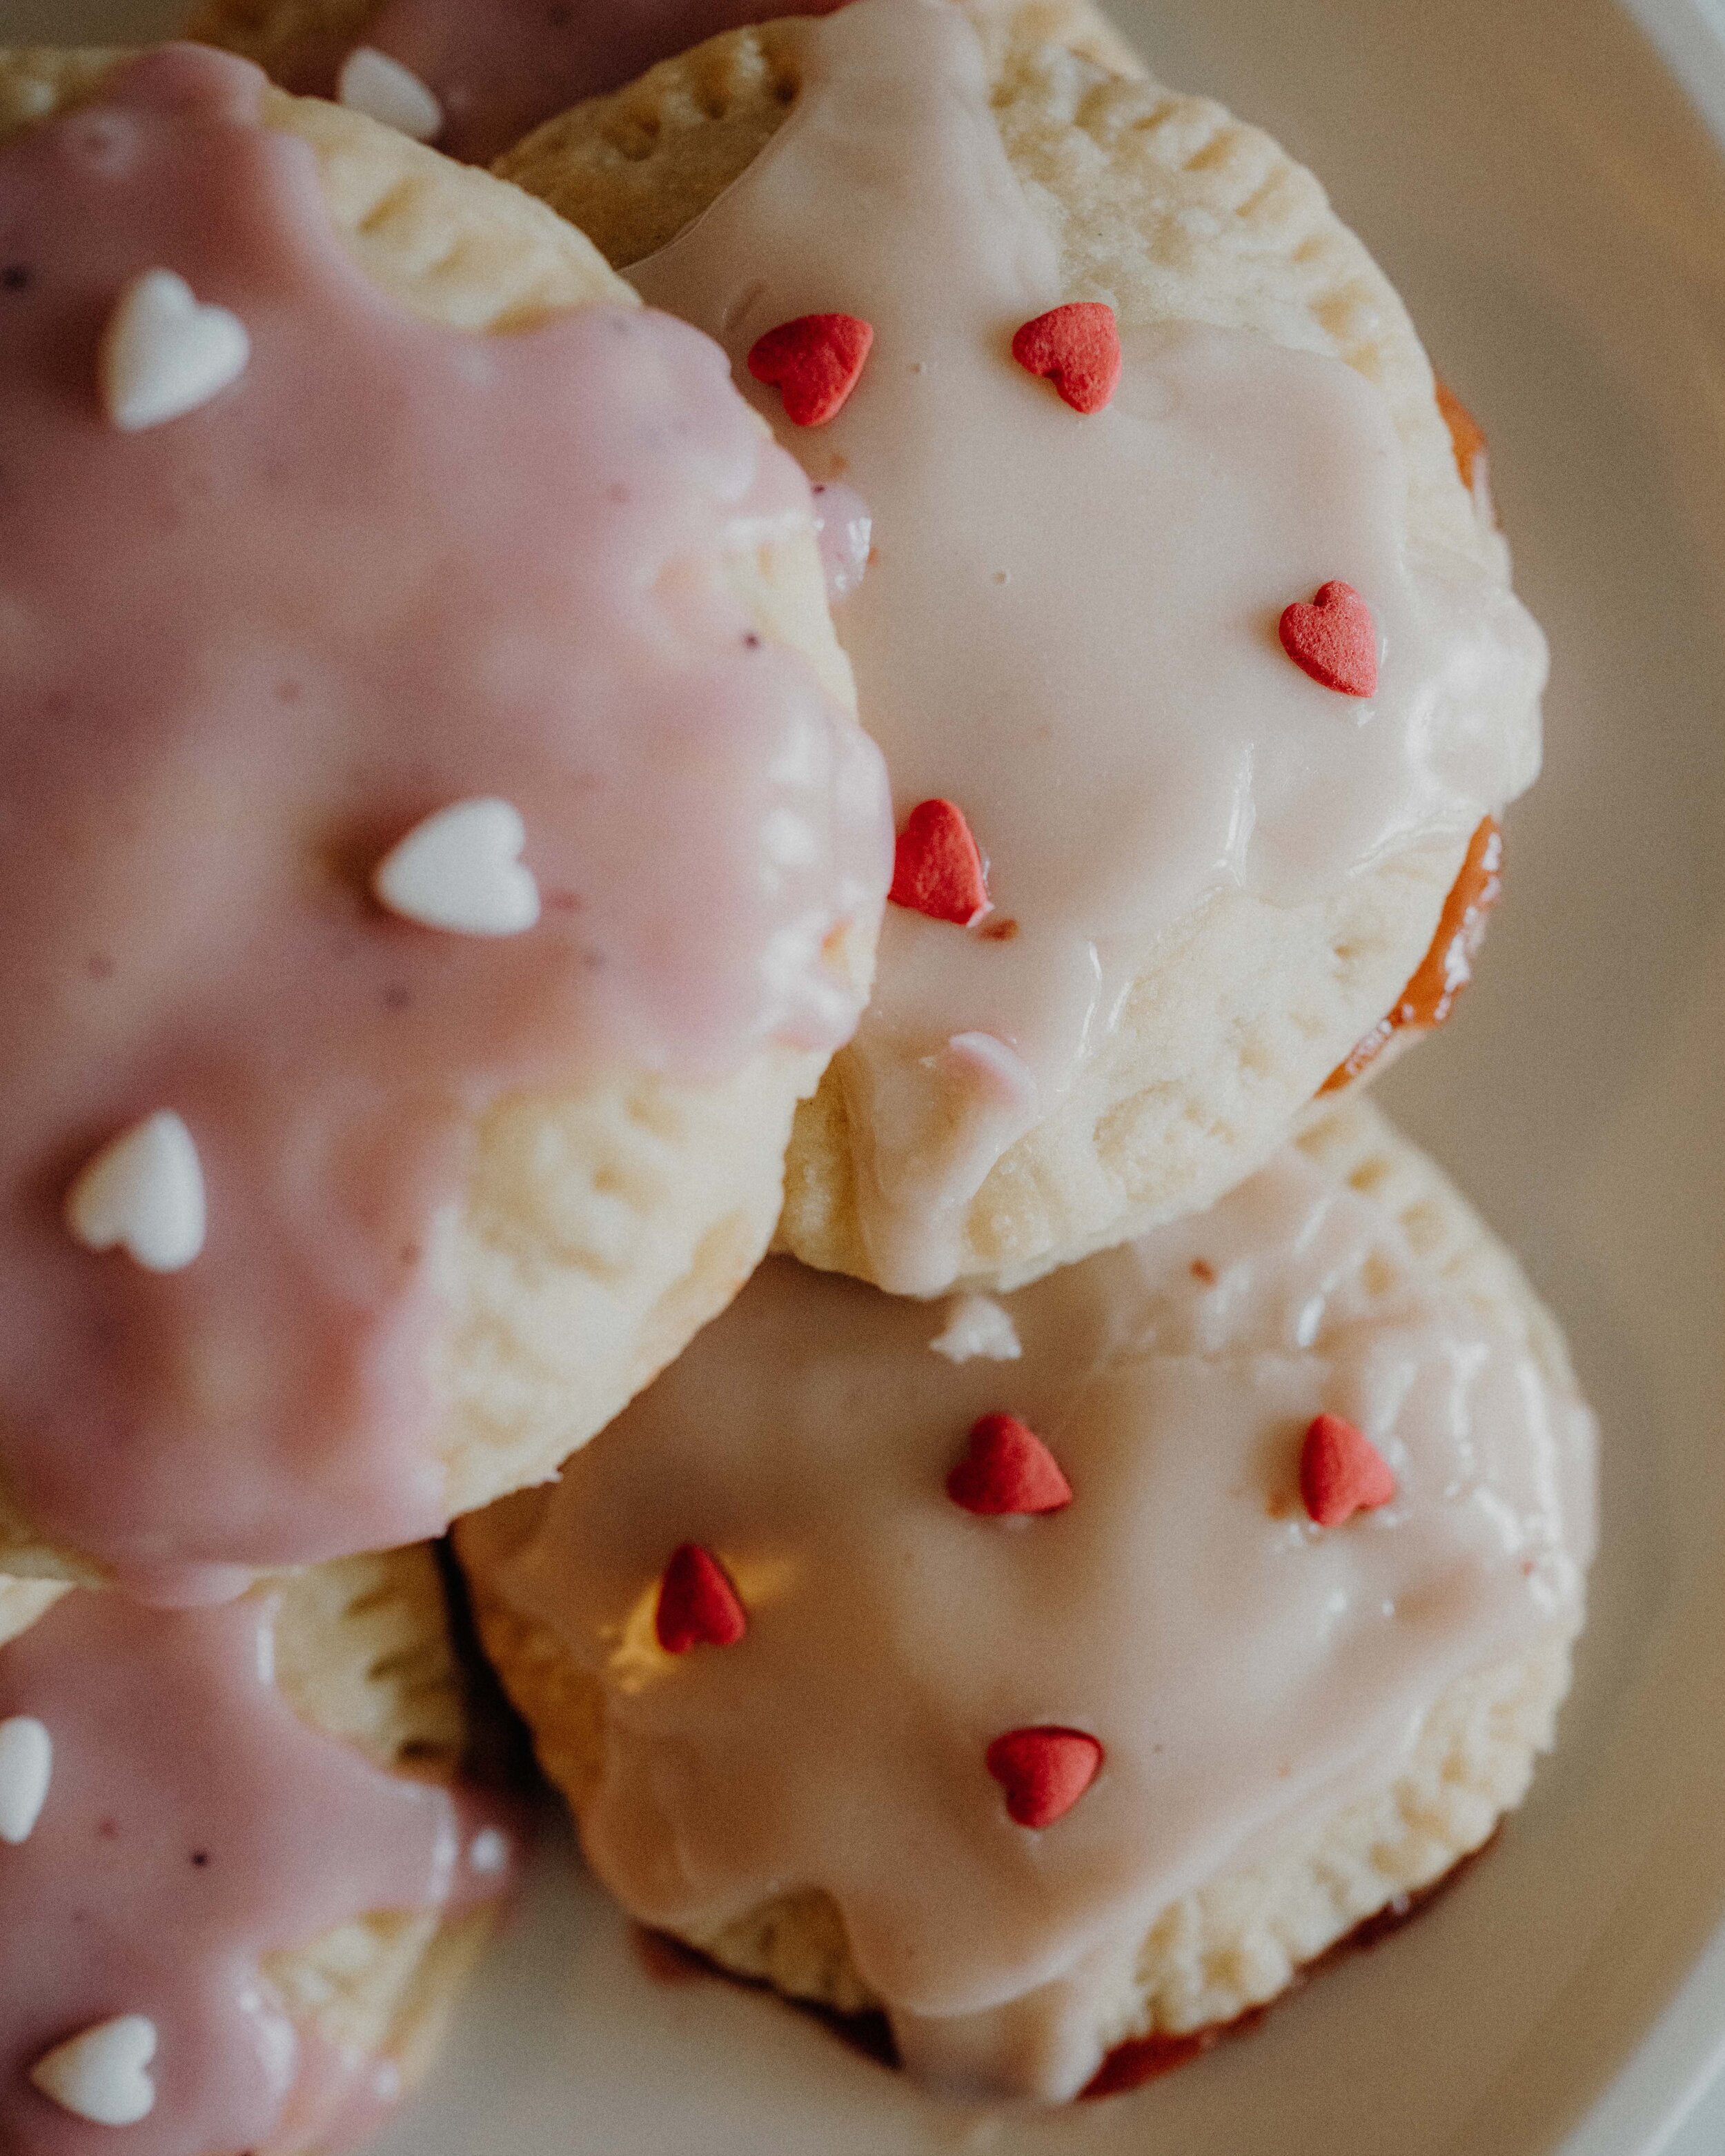
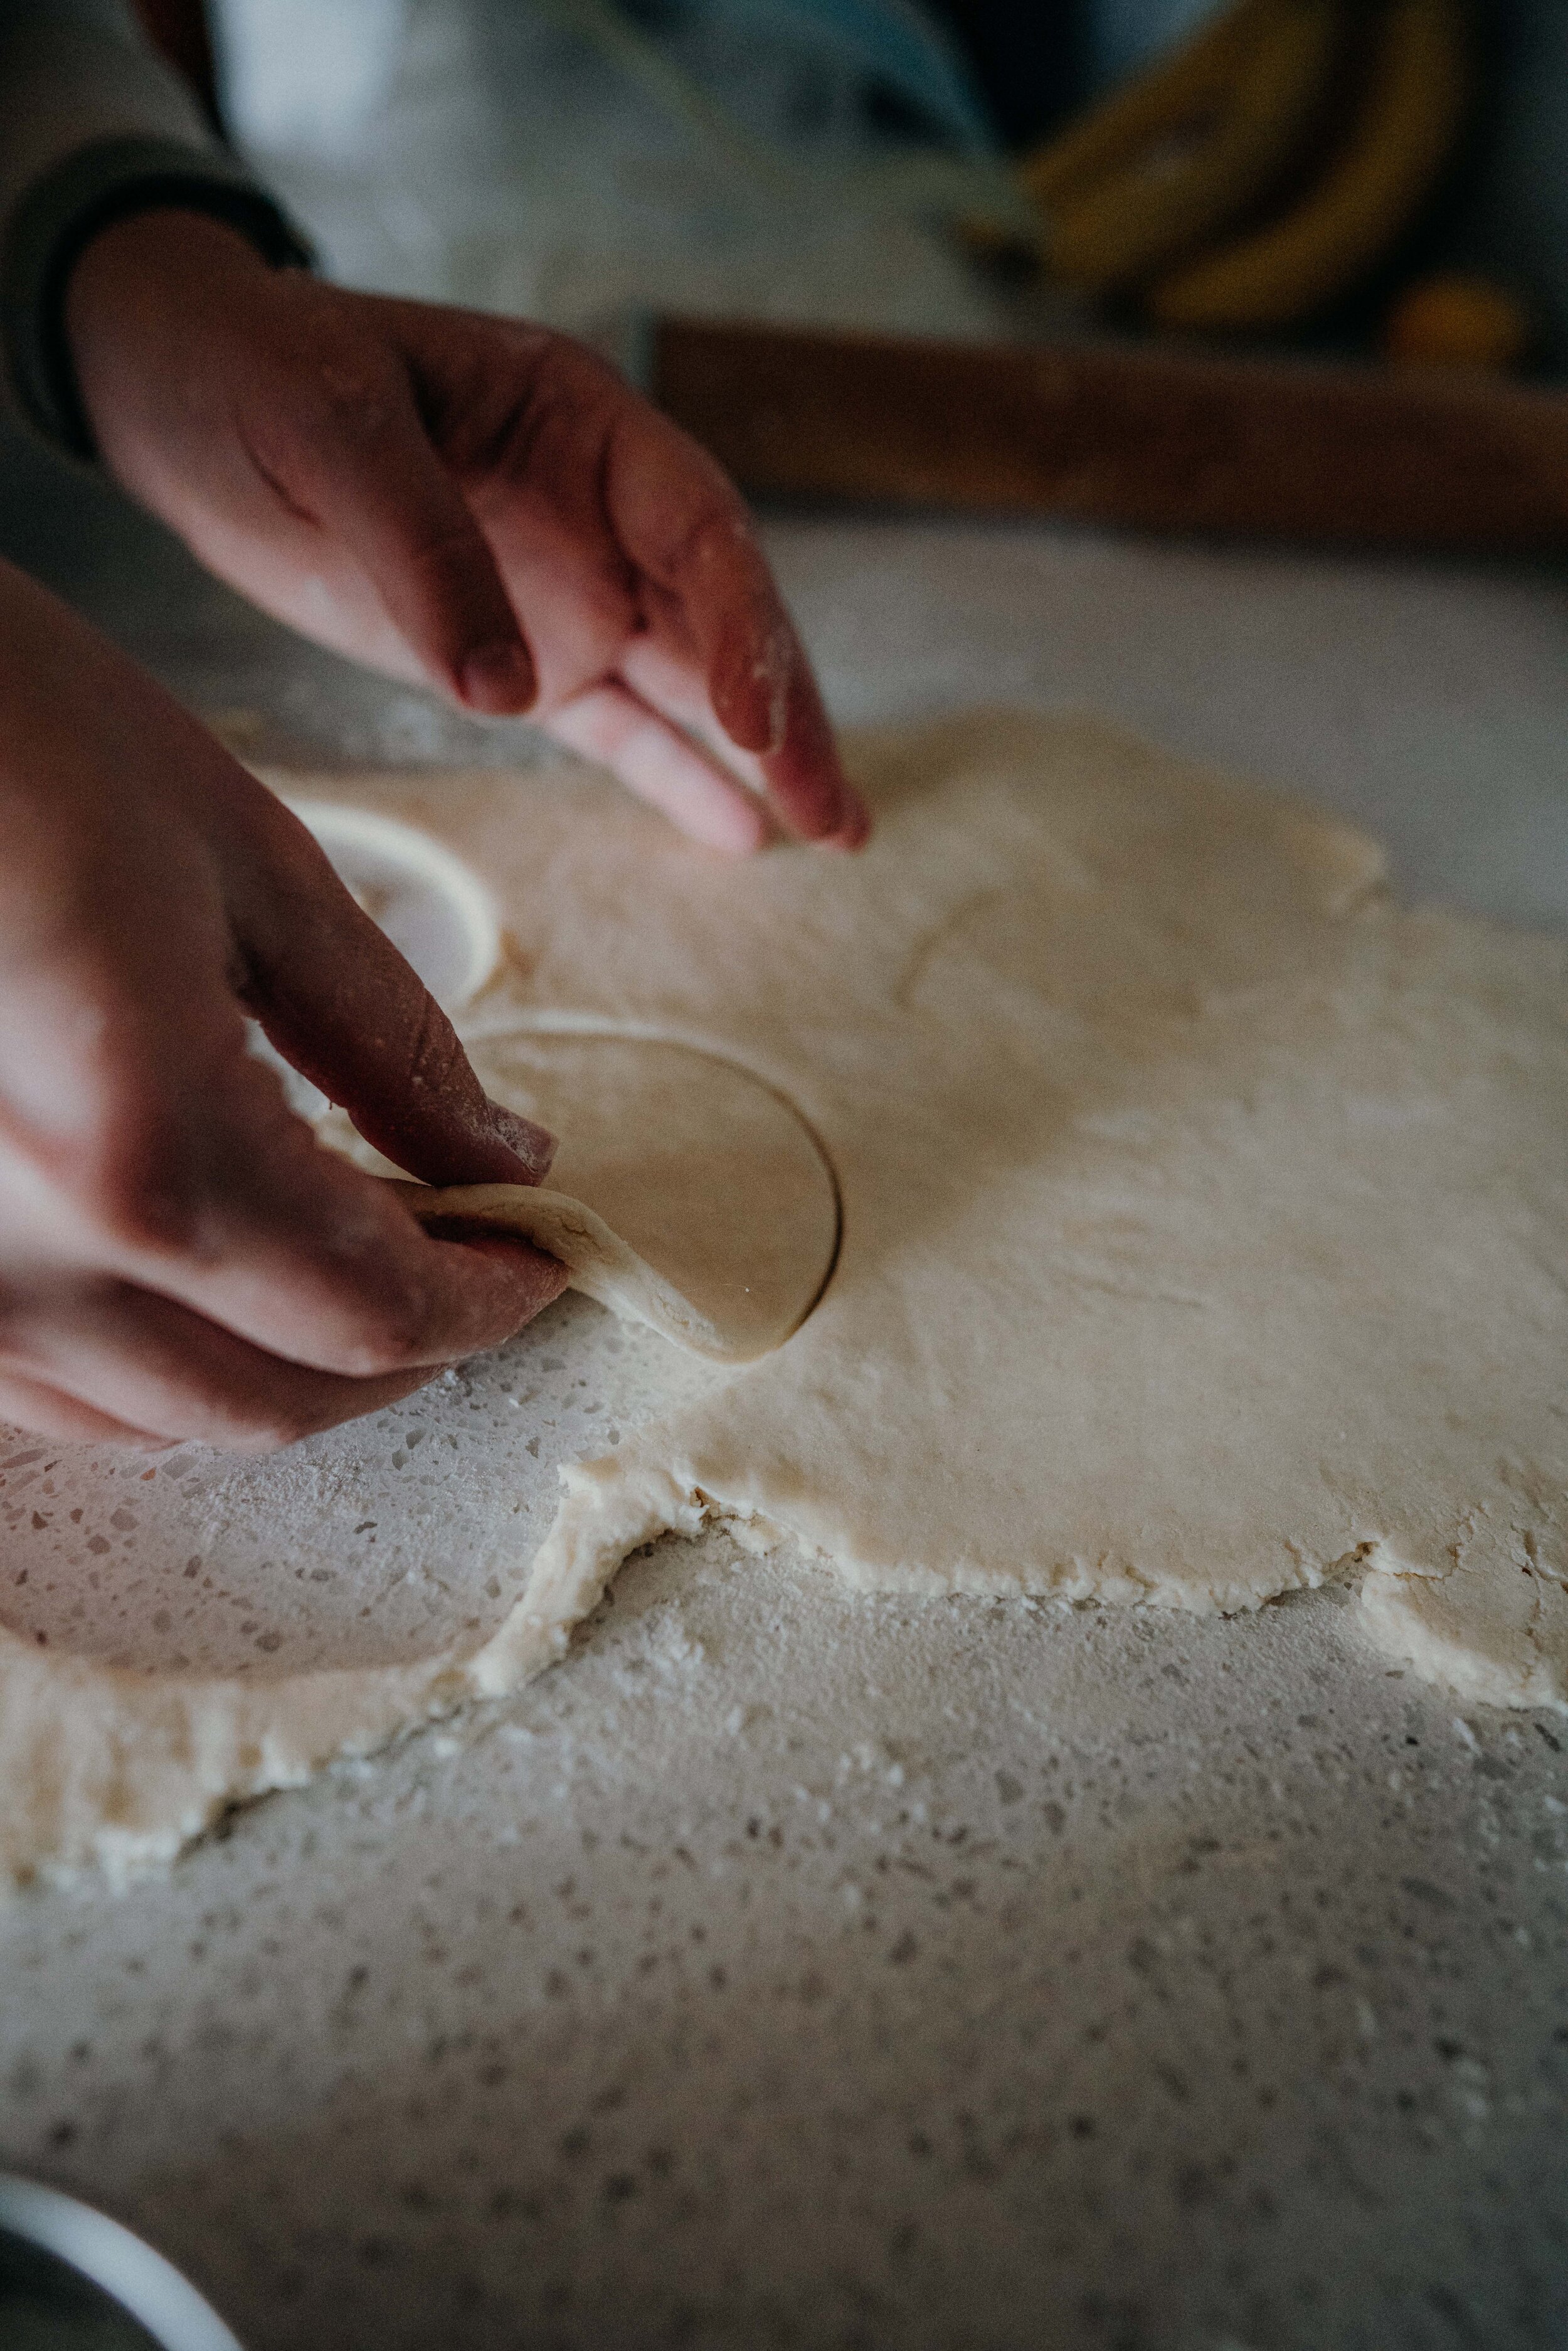
I used a very simple and trusty pie dough recipe, which is made vegan by using non-dairy butter. I made two different flavors - strawberry and blueberry - using jam I already had in the fridge. The icing was made using a bit of those jams as well, plus the usual powdered sugar, non-dairy milk, and a bit of lemon. I decided to make mine round because I have these great cookie cutters of various sizes. You want to try to max your pieces uniform with this recipe, so I went for a “uncrustables” look versus the classic rectangular Poptart. So all in all, making these Poptarts is easy, delicious, and (even though they’re a sweet treat) way better than the ones you buy off the shelf!
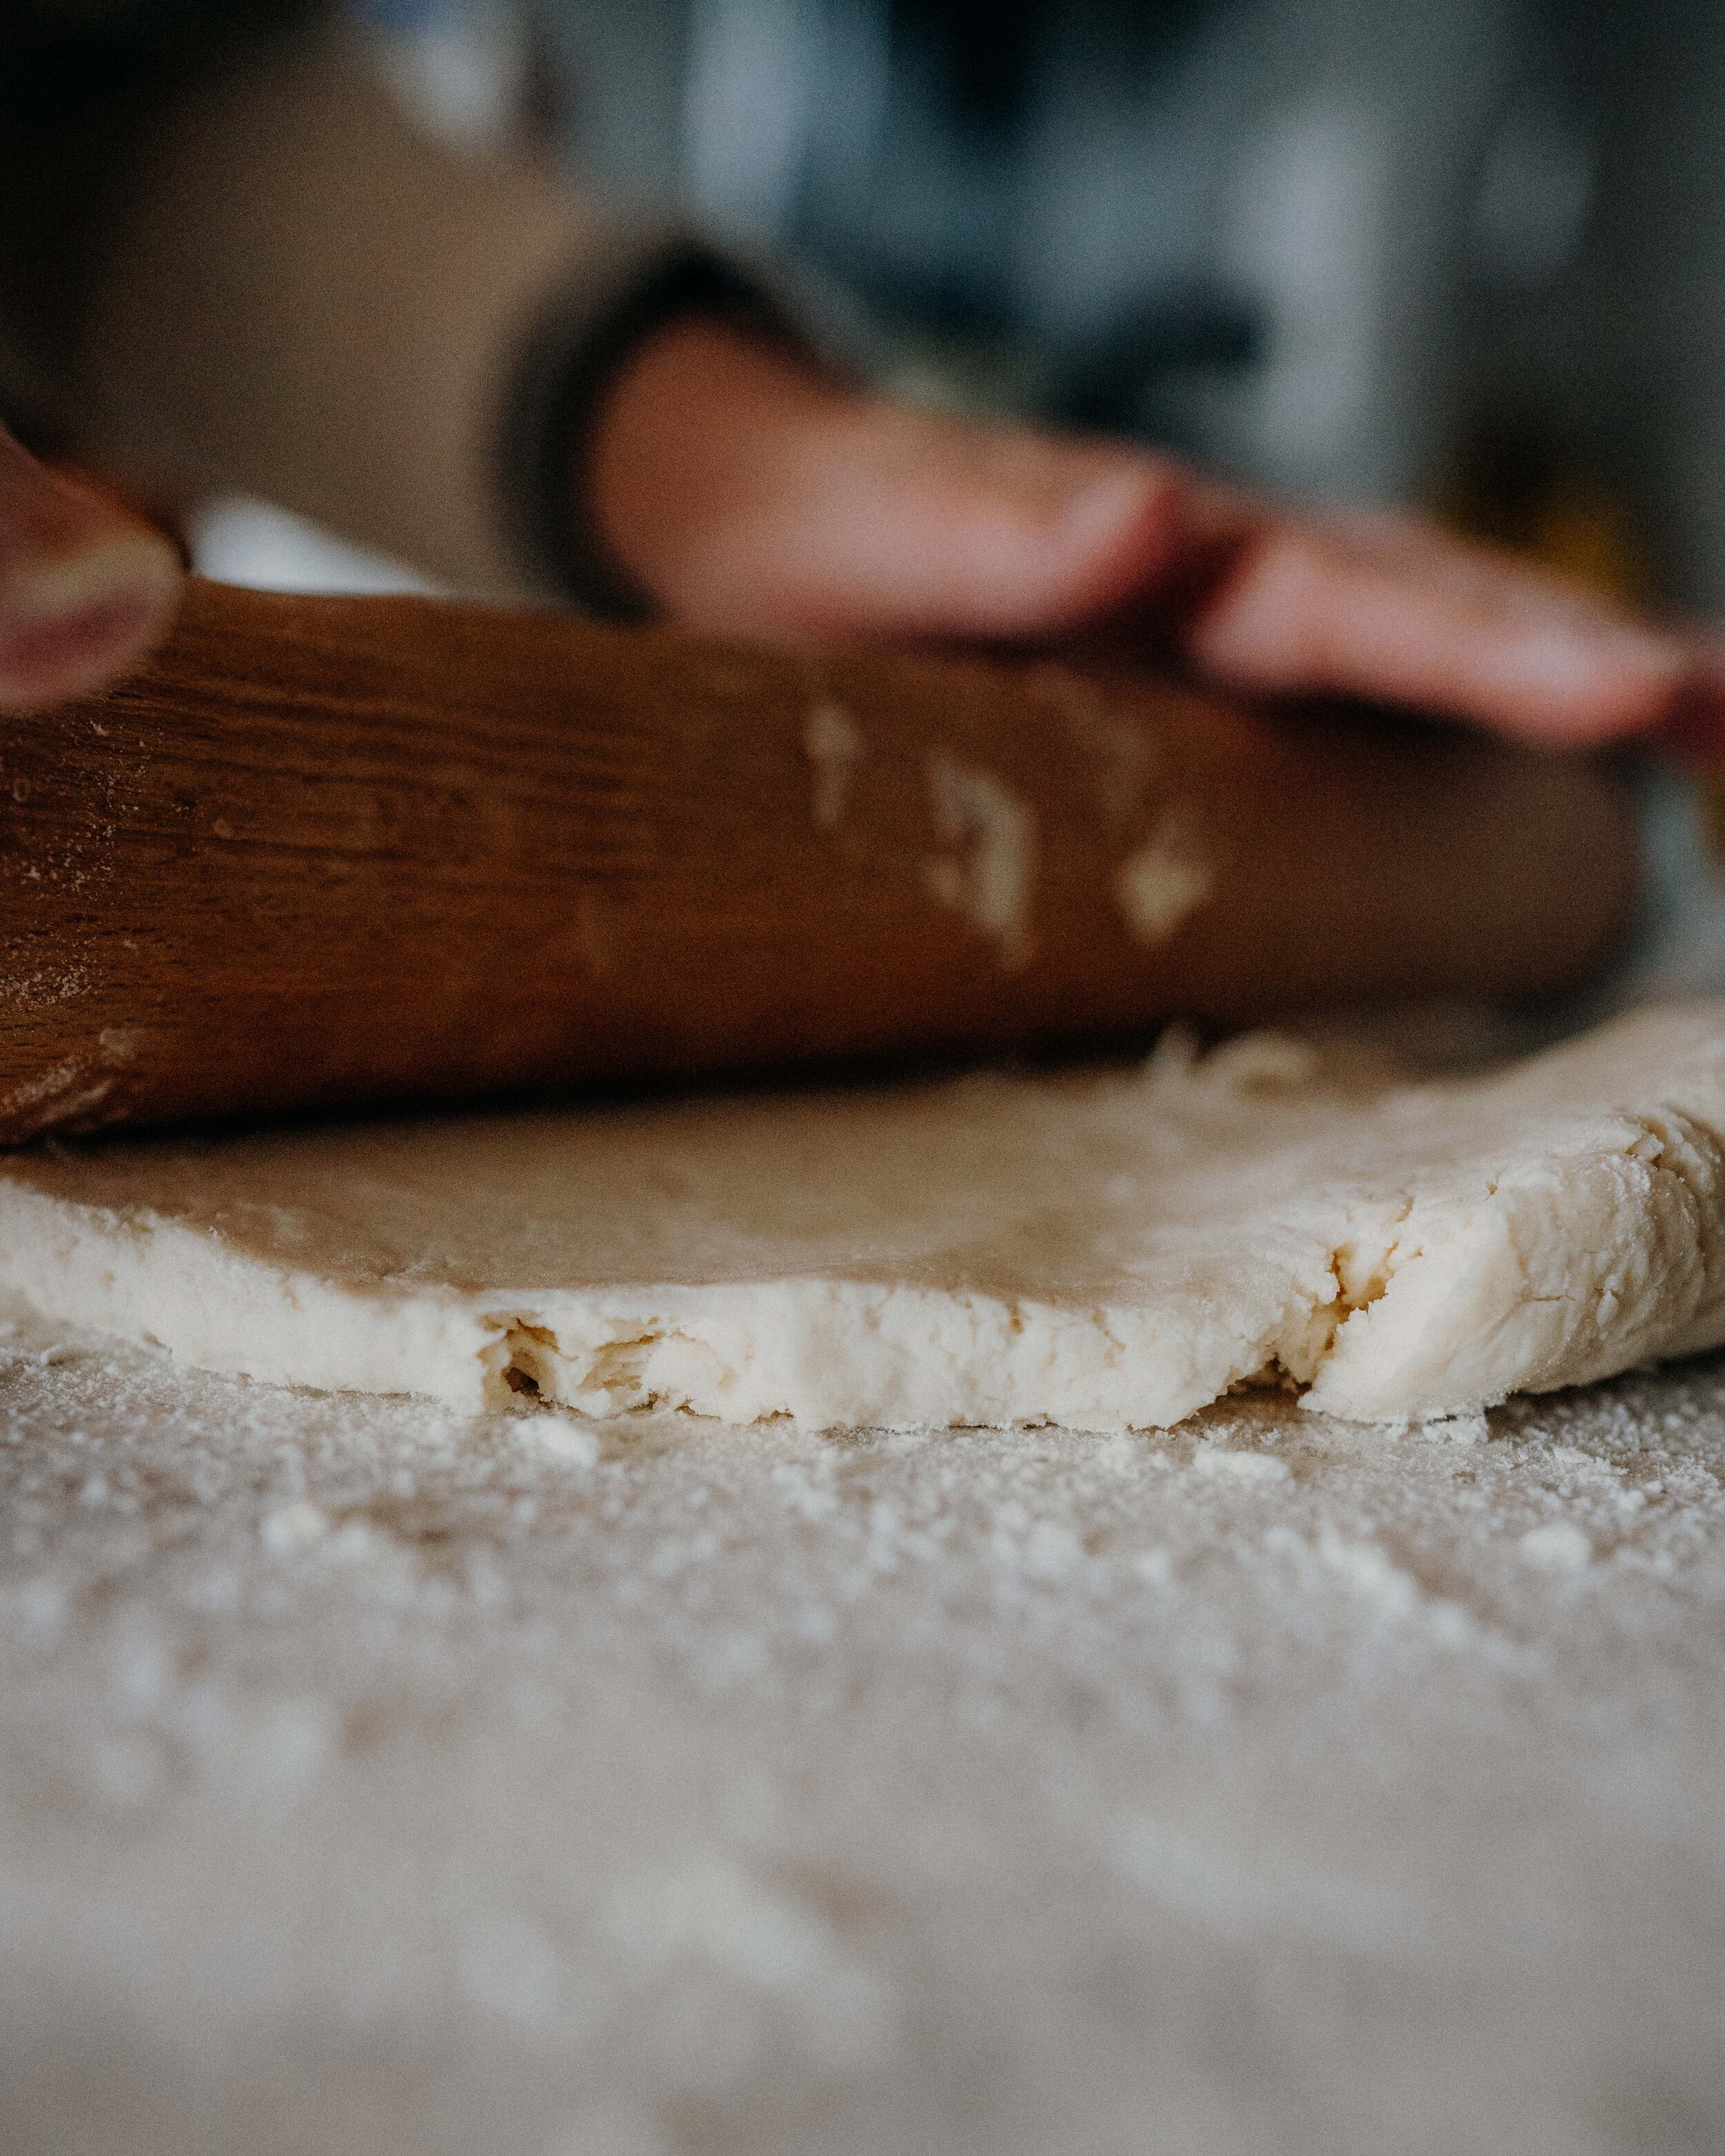
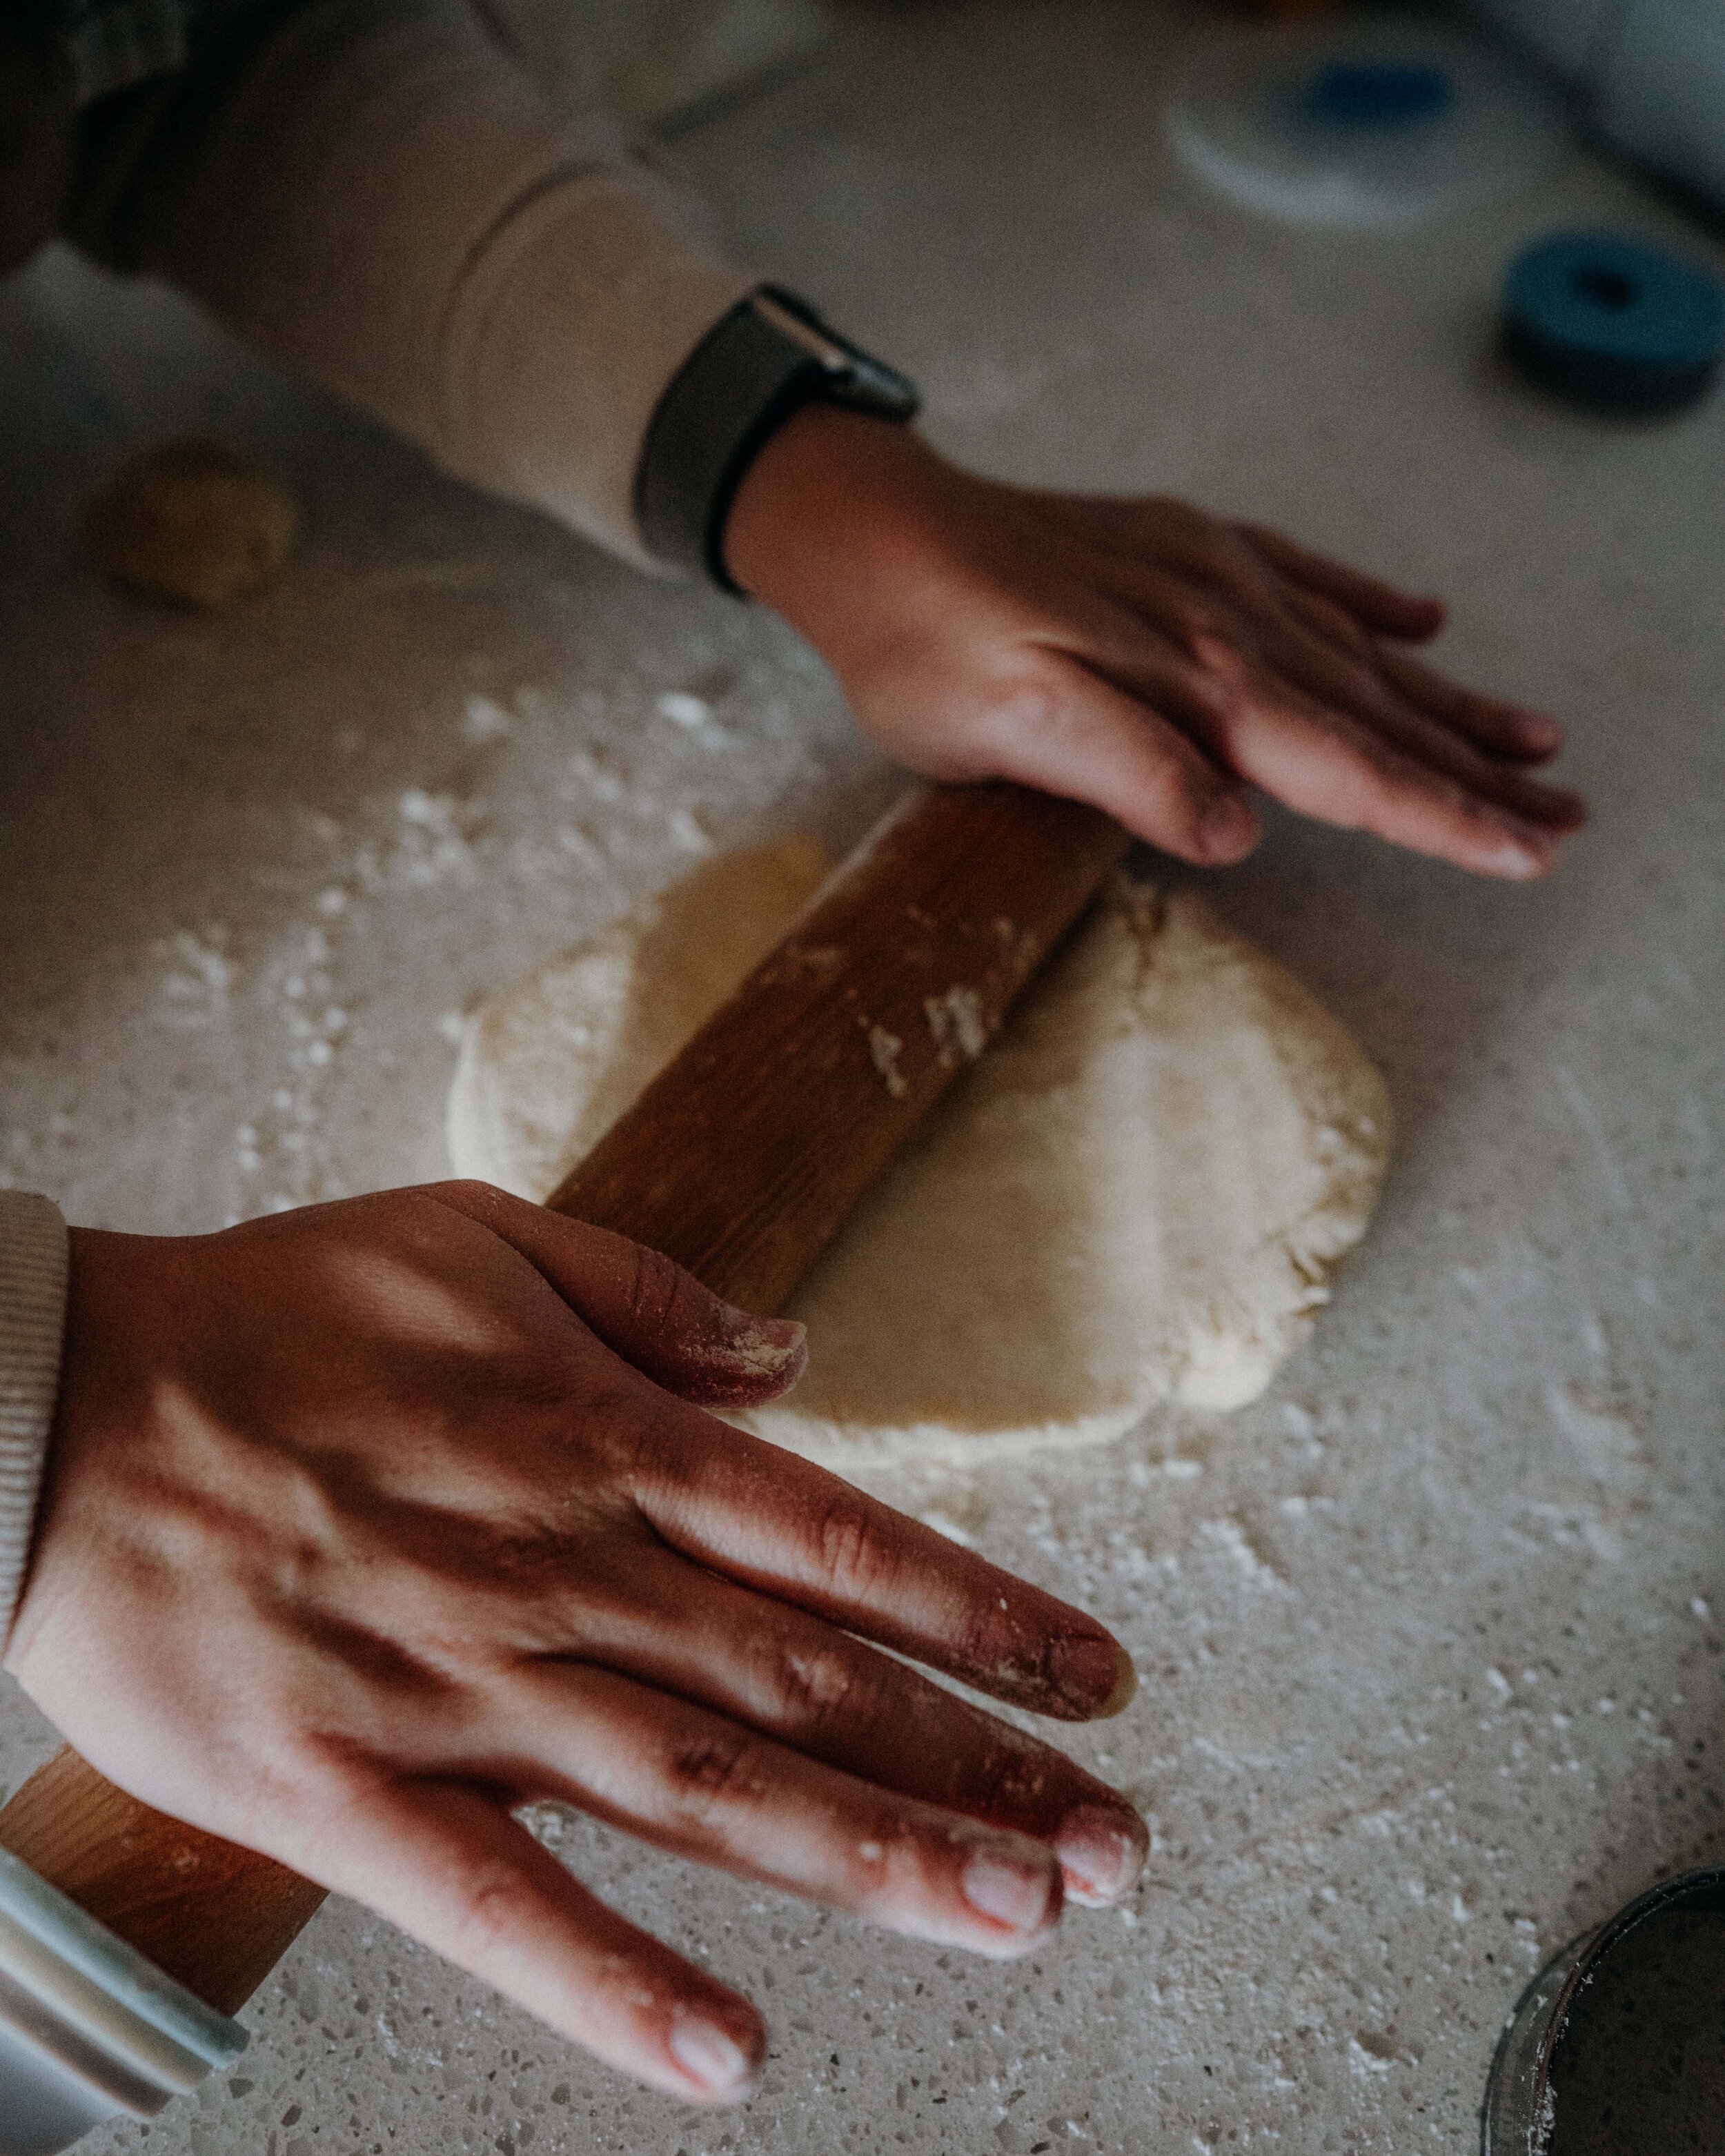
Quick note - I recommend rolling out the dough to 33 mm but who really knows what that means. But I have this amazing rolling pin that allows you to adjust the height to get the right size as well as measurements on the actual pin. Genius.
Anyway, I hope you enjoy making and eating these delicious treats!

Homemade Vegan Poptarts
Ingredients
Pie Crust
2 C all purpose flour
1 T granulated sugar
1/2 tsp sea salt
1 C cold vegan butter (two sticks)
1/2 C ice cold water
Filling
~10 T of your favorite Jam or Jelly
Melted vegan butter (for securing pastry)
Icing
1 T of Jam or Jelly
Juice of 1/2 Lemon
~1.5 C powdered sugar
Non-Dairy Milk (I used almond milk)
Instructions
Make dough my combining flour, sugar, and salt in a large mixing bowl.
Cut the cold butter in small cubes, then add to the bowl and combine with a pastry blender until a crumb-like texture has formed with pea sized pieces of butter throughout.
Create a well in the center of the mixture and pour in the ice cold water.
Fold together the pastry a few times with a spatula until just combined, but still crumbly. Be careful not to over mix!
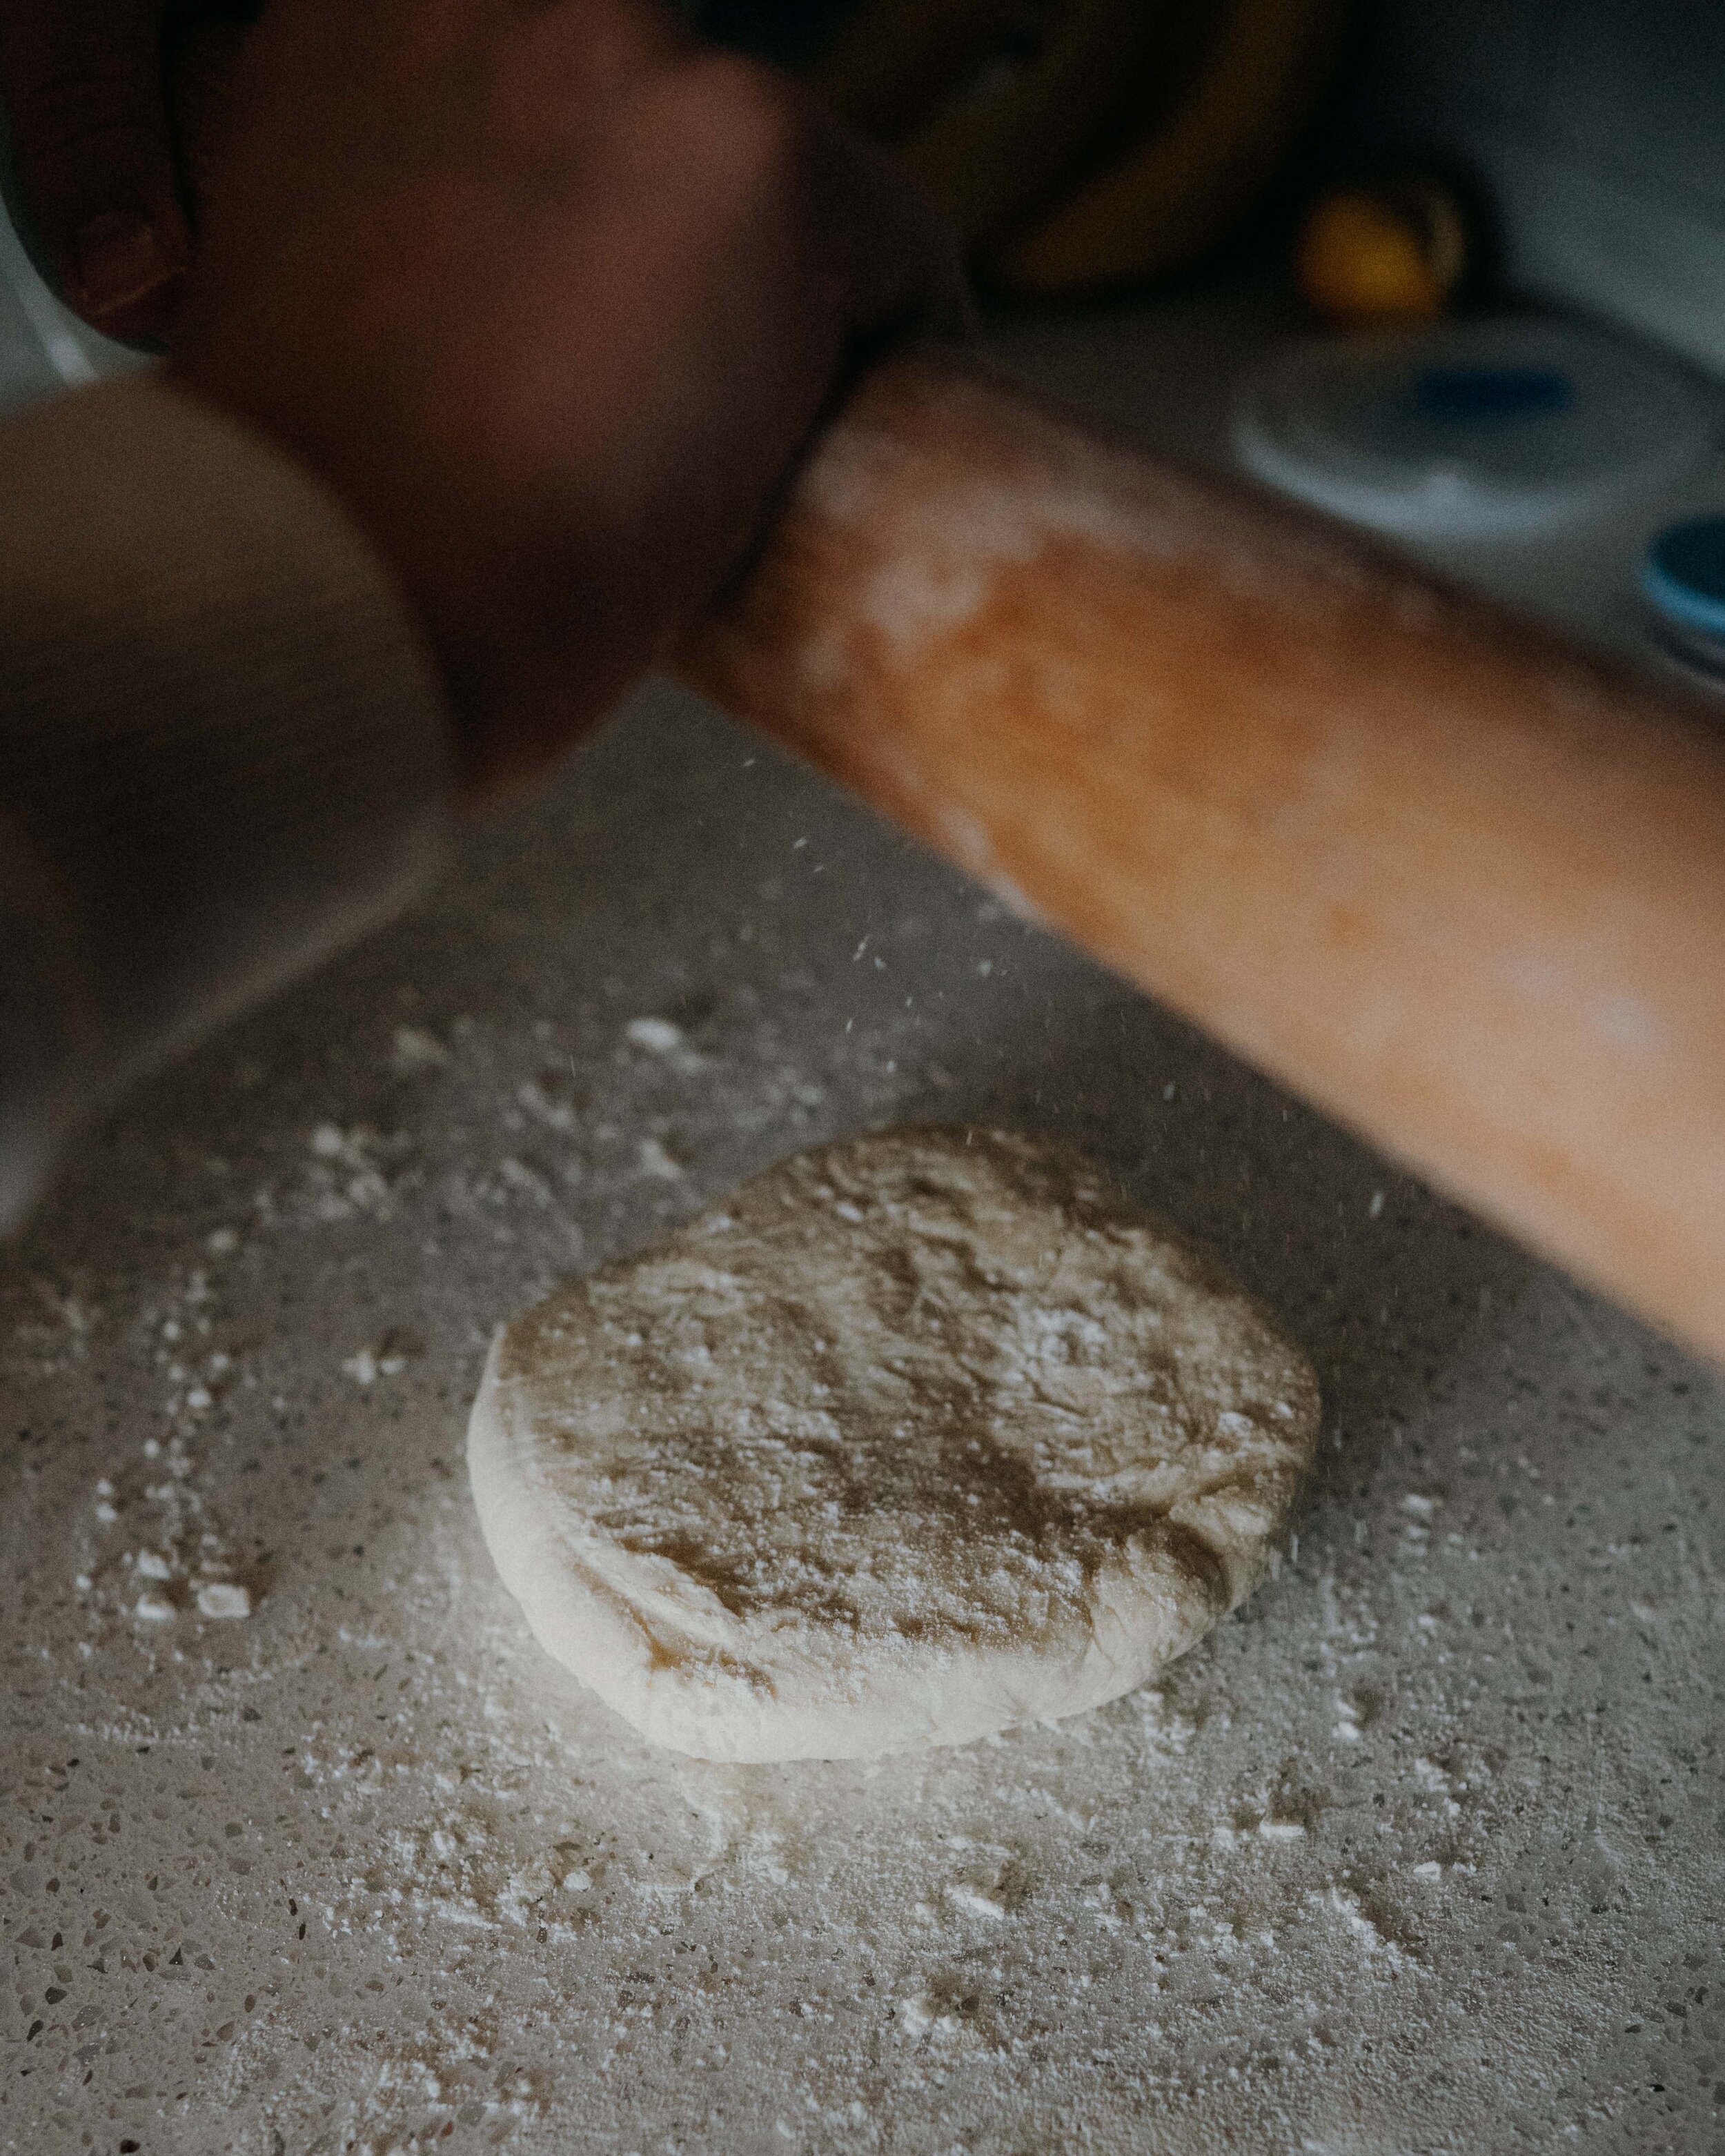
Portion half of the pastry into a large piece of plastic wrap. Lift the sides of the the plastic wrap over the pastry to bring it together, and gently form a ball. Finish wrapping the pastry in the plastic and gently form a thick disc. Do the same with the other half.
Refrigerate the pastry for 1 hour.
Line a baking sheet with parchment paper and set the oven to 350°F
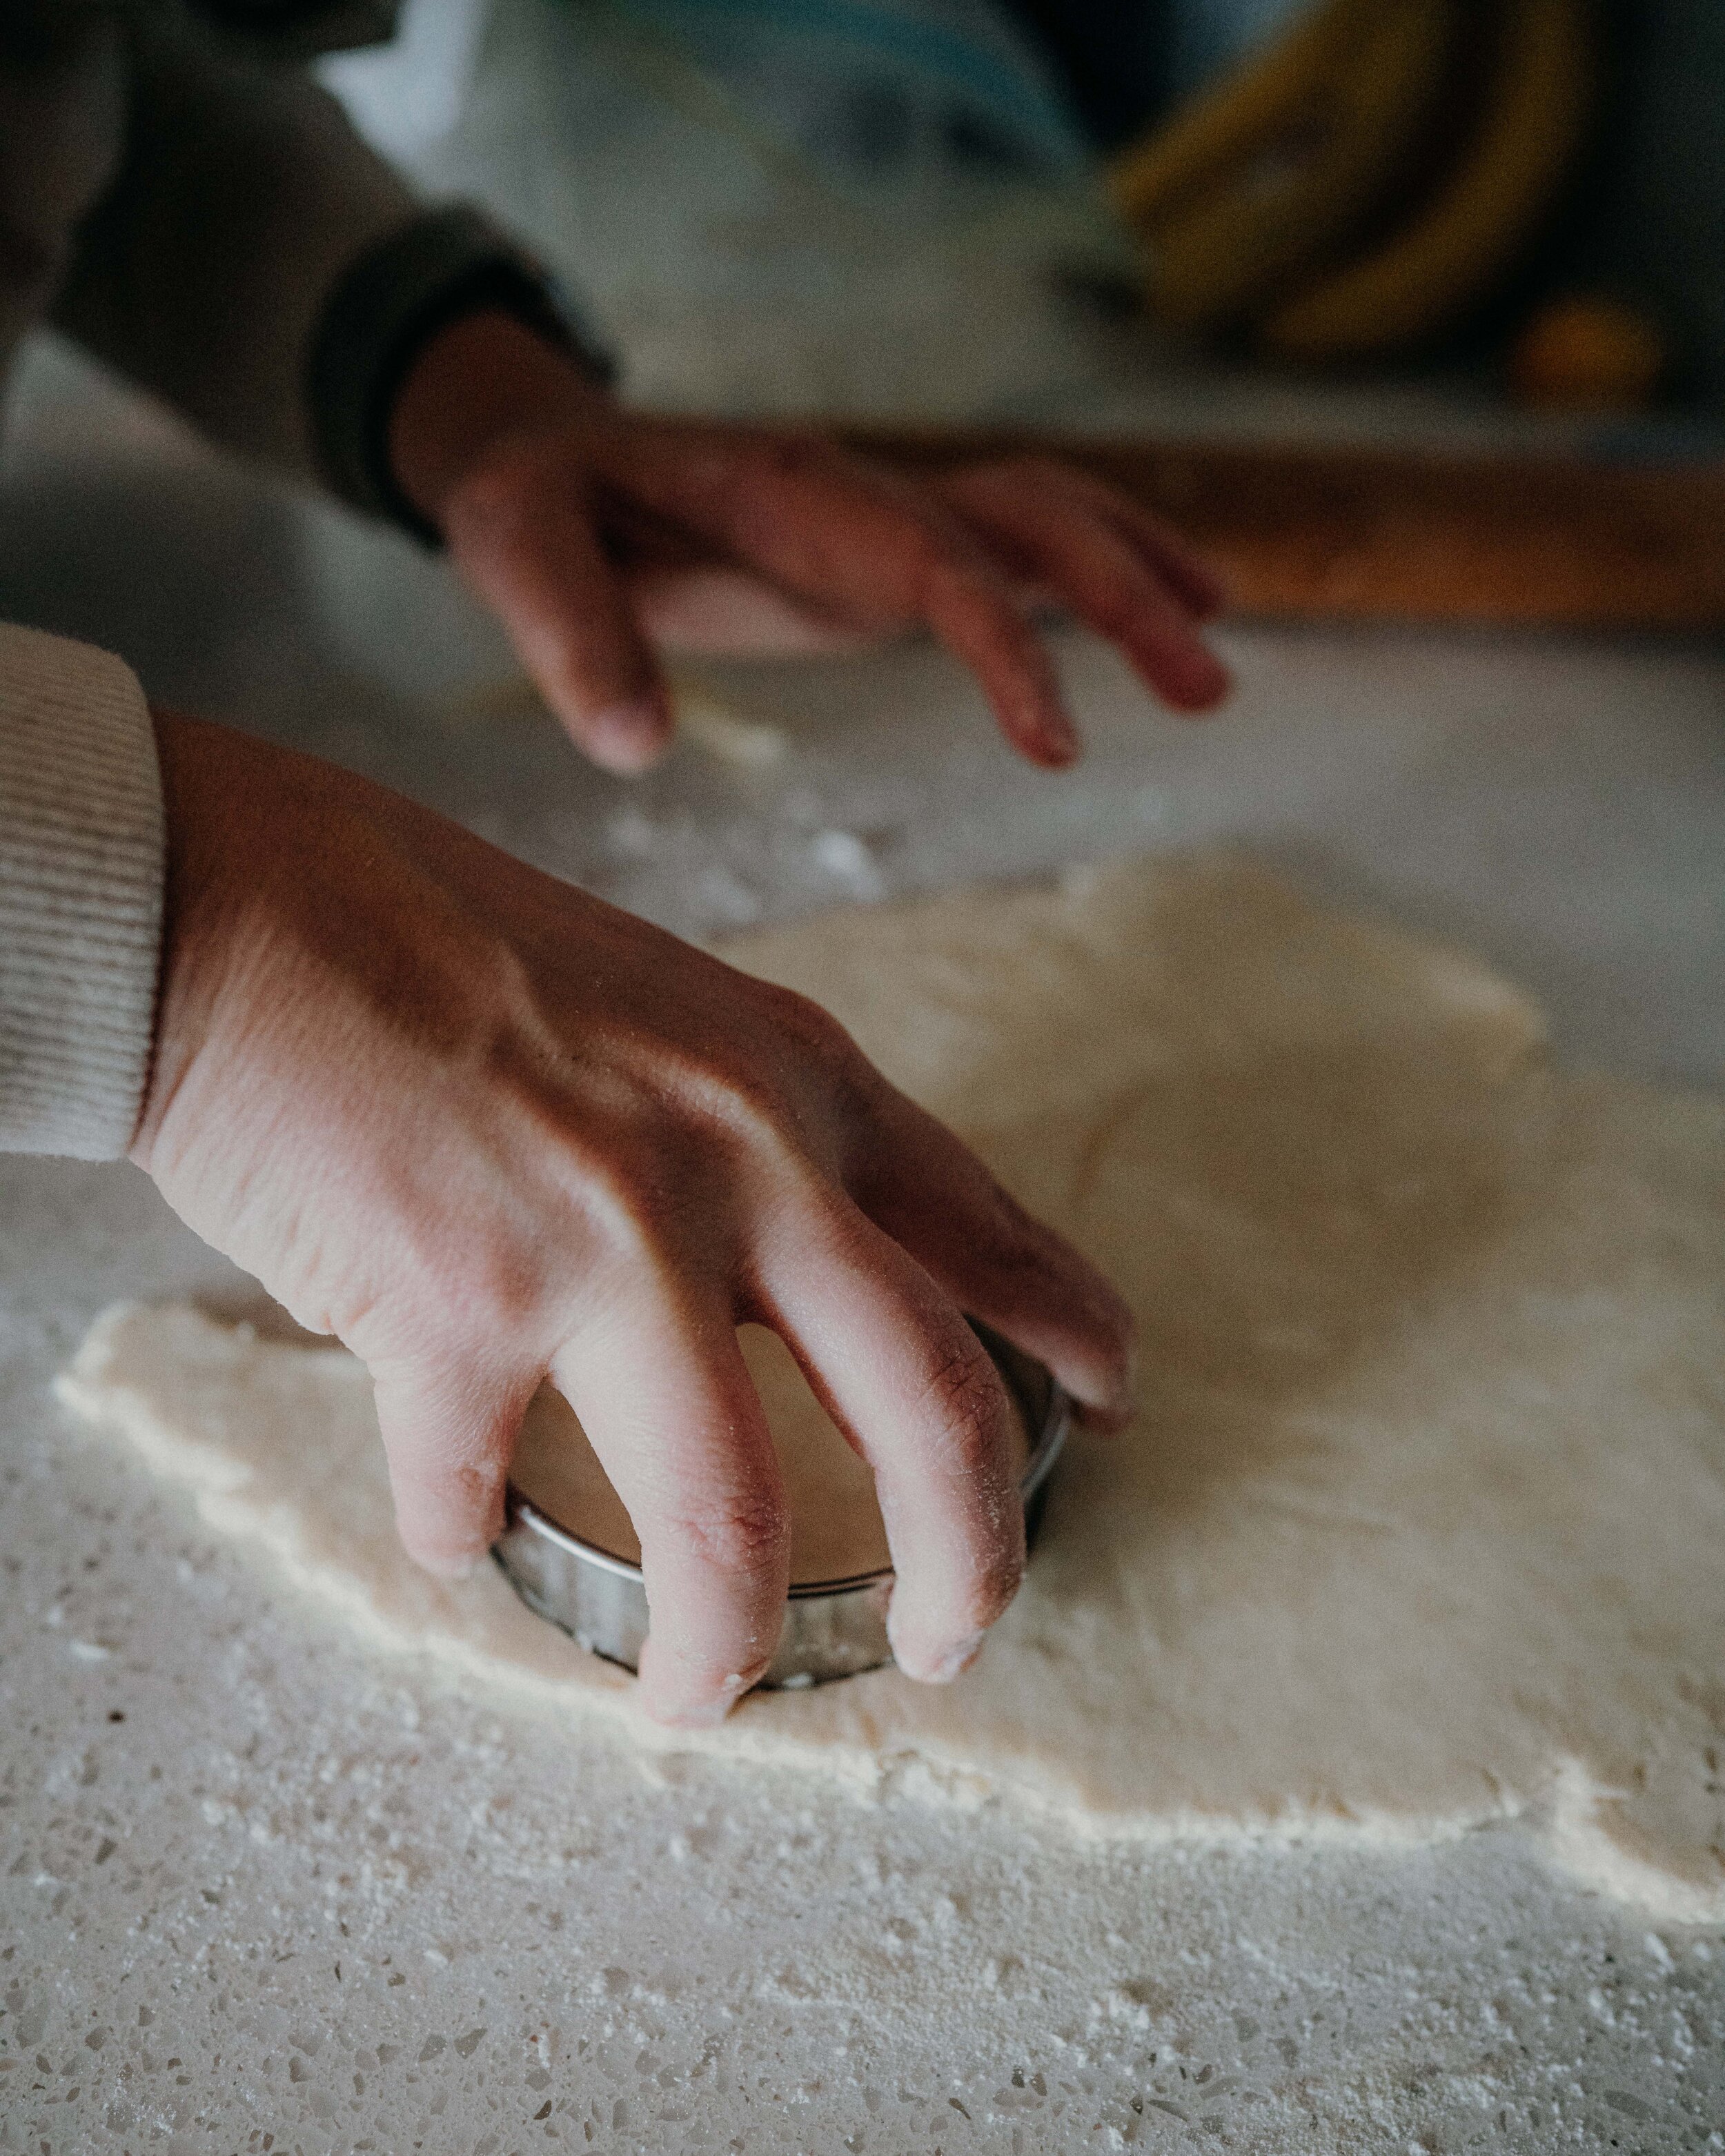
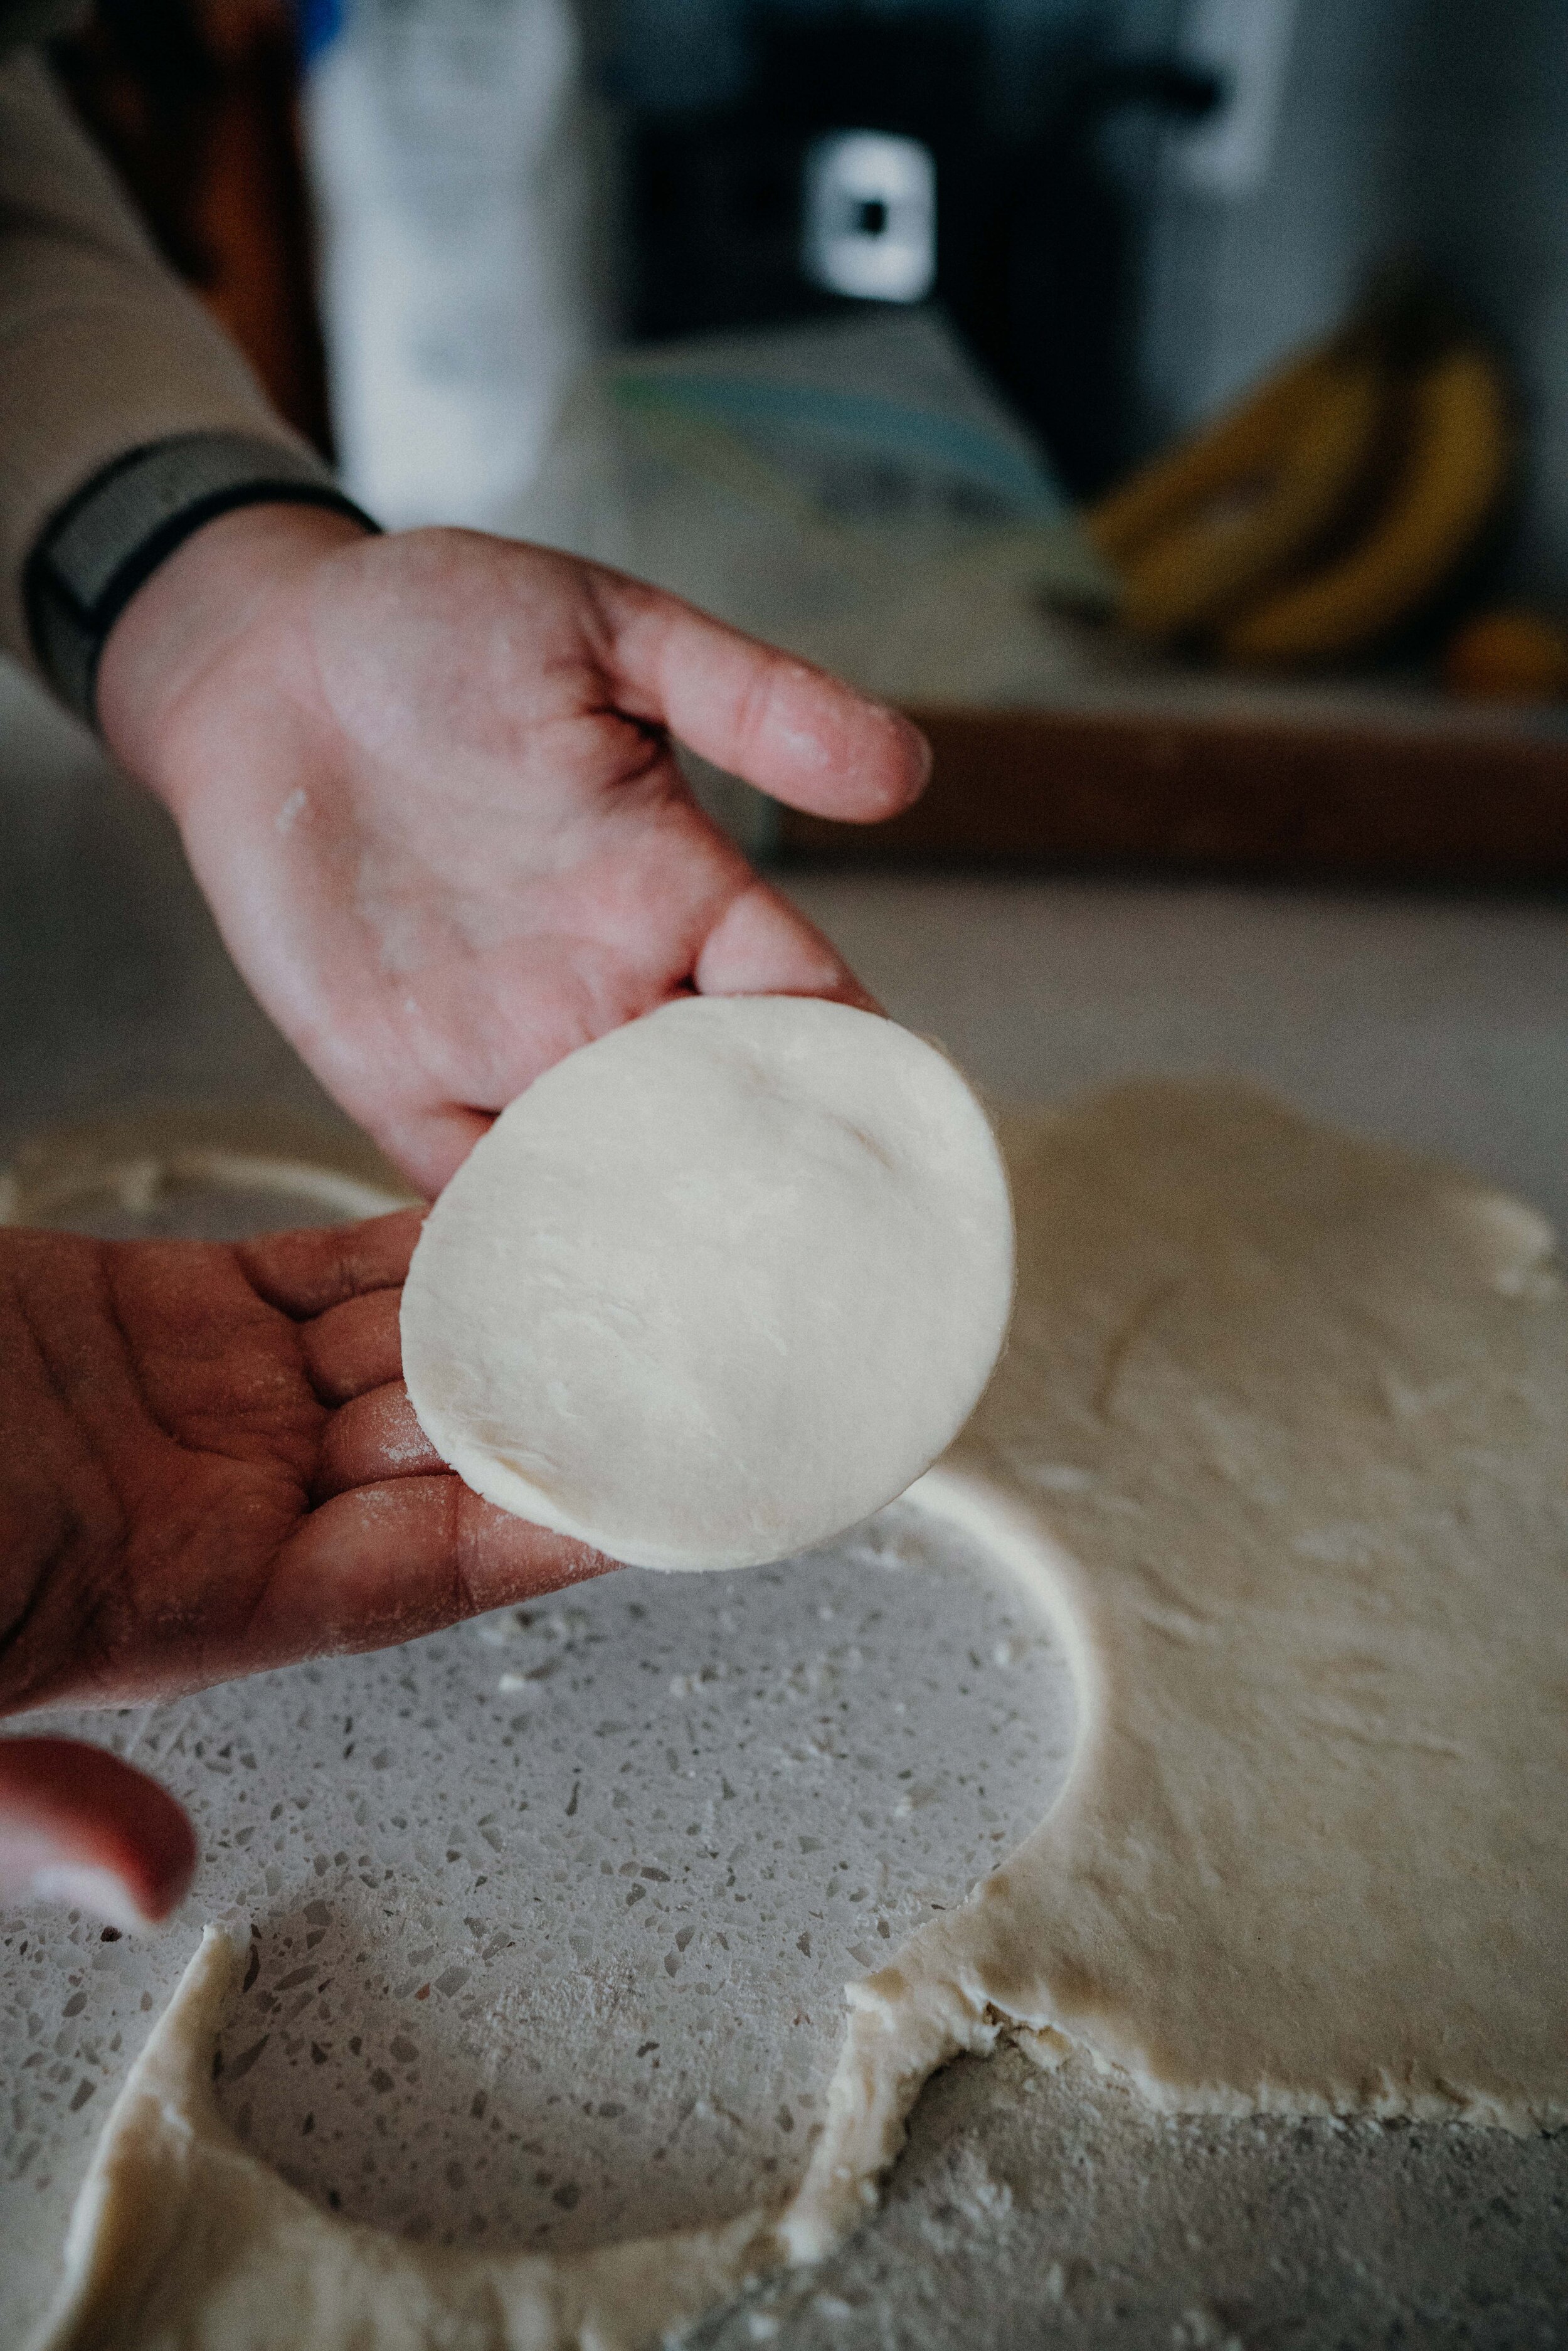
Flour your work surface, hands, and rolling pin and roll out one portion of your dough until about 3 mm thick. Use cookie cutter to cut out shapes or cut into rectangles (3” wide and 4” long).
On each piece, lightly brush melted vegan butter around the outside of the dough to ensure that they close and stick together.
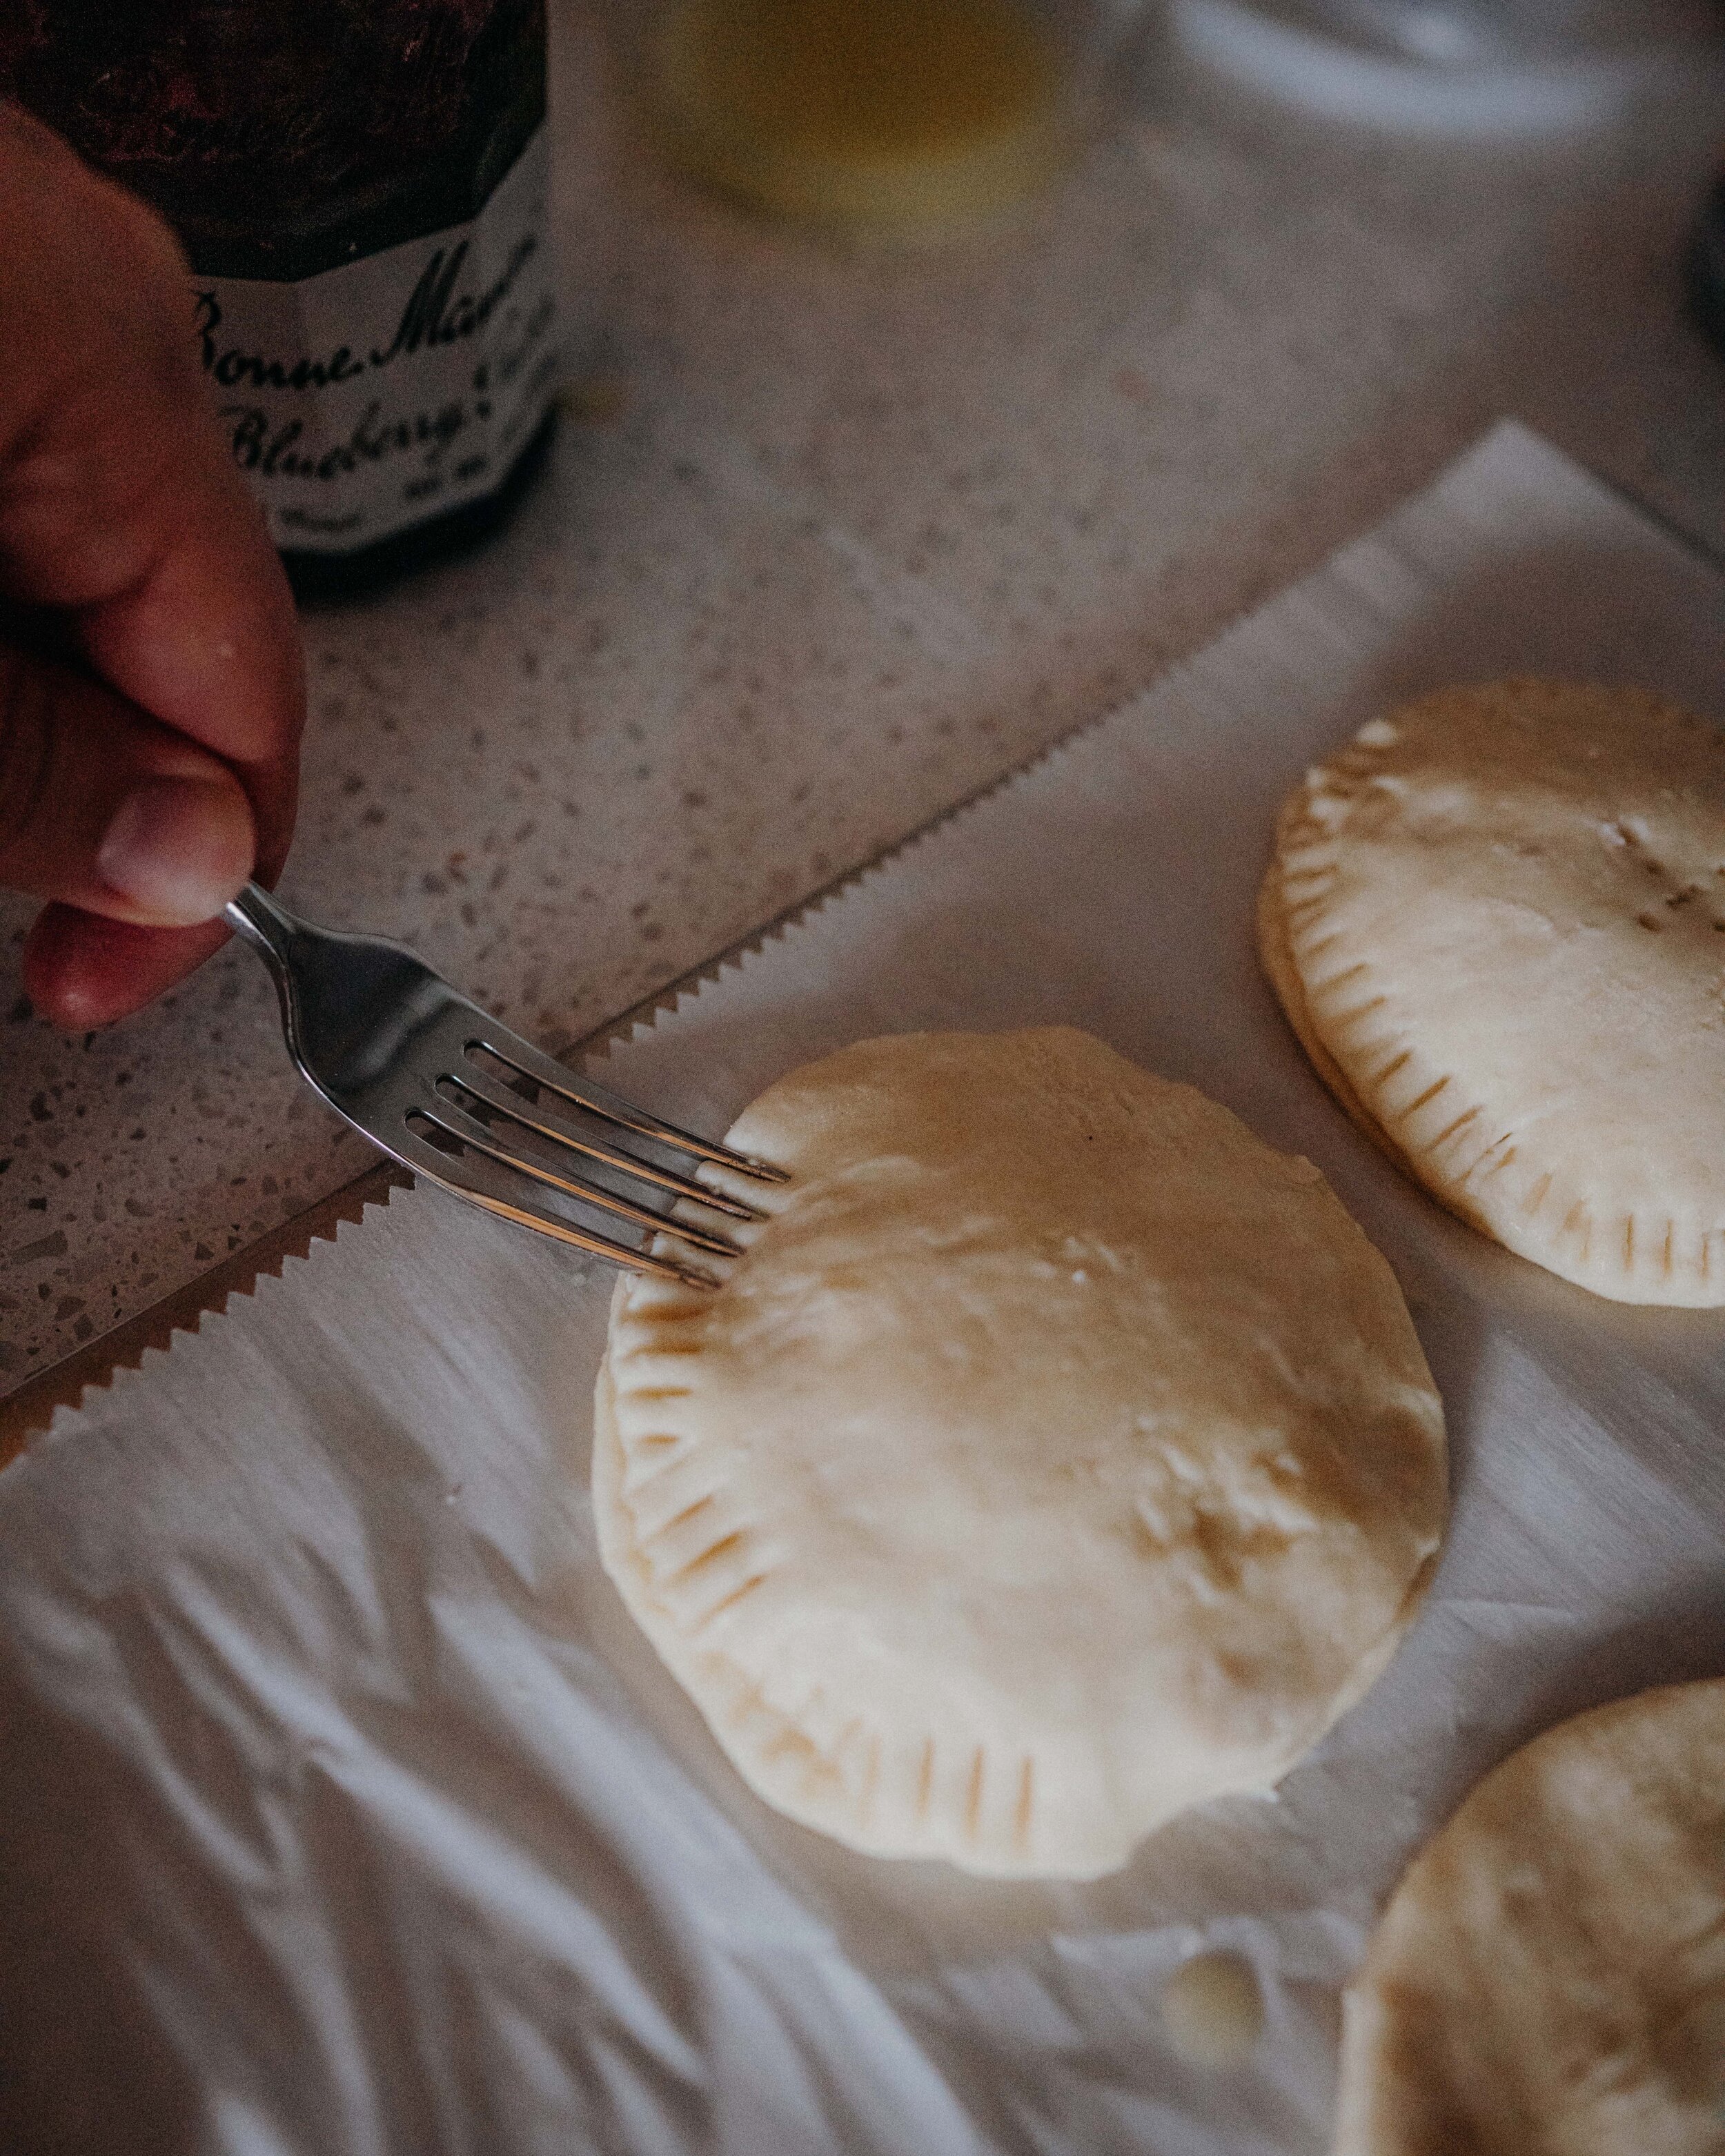
On half of the circles/rectangles add 1 Tbsp of your favorite jam and carefully cover it with another piece, gently pressing down along the edges. Using a fork, crimp around the edges and then place it on your baking sheet.
Once all your Poptarts are on the baking sheet, gently prick a set of holes on the top using the fork. If using two different flavors, make two different designs so you can tell which is which for icing time.
Lightly brush the tops with melted butter and bake for 25-30 minutes until golden brown and the filling begins to bubble and slightly seep out.
Once done, remove from oven and let cool for 10 minutes or so.
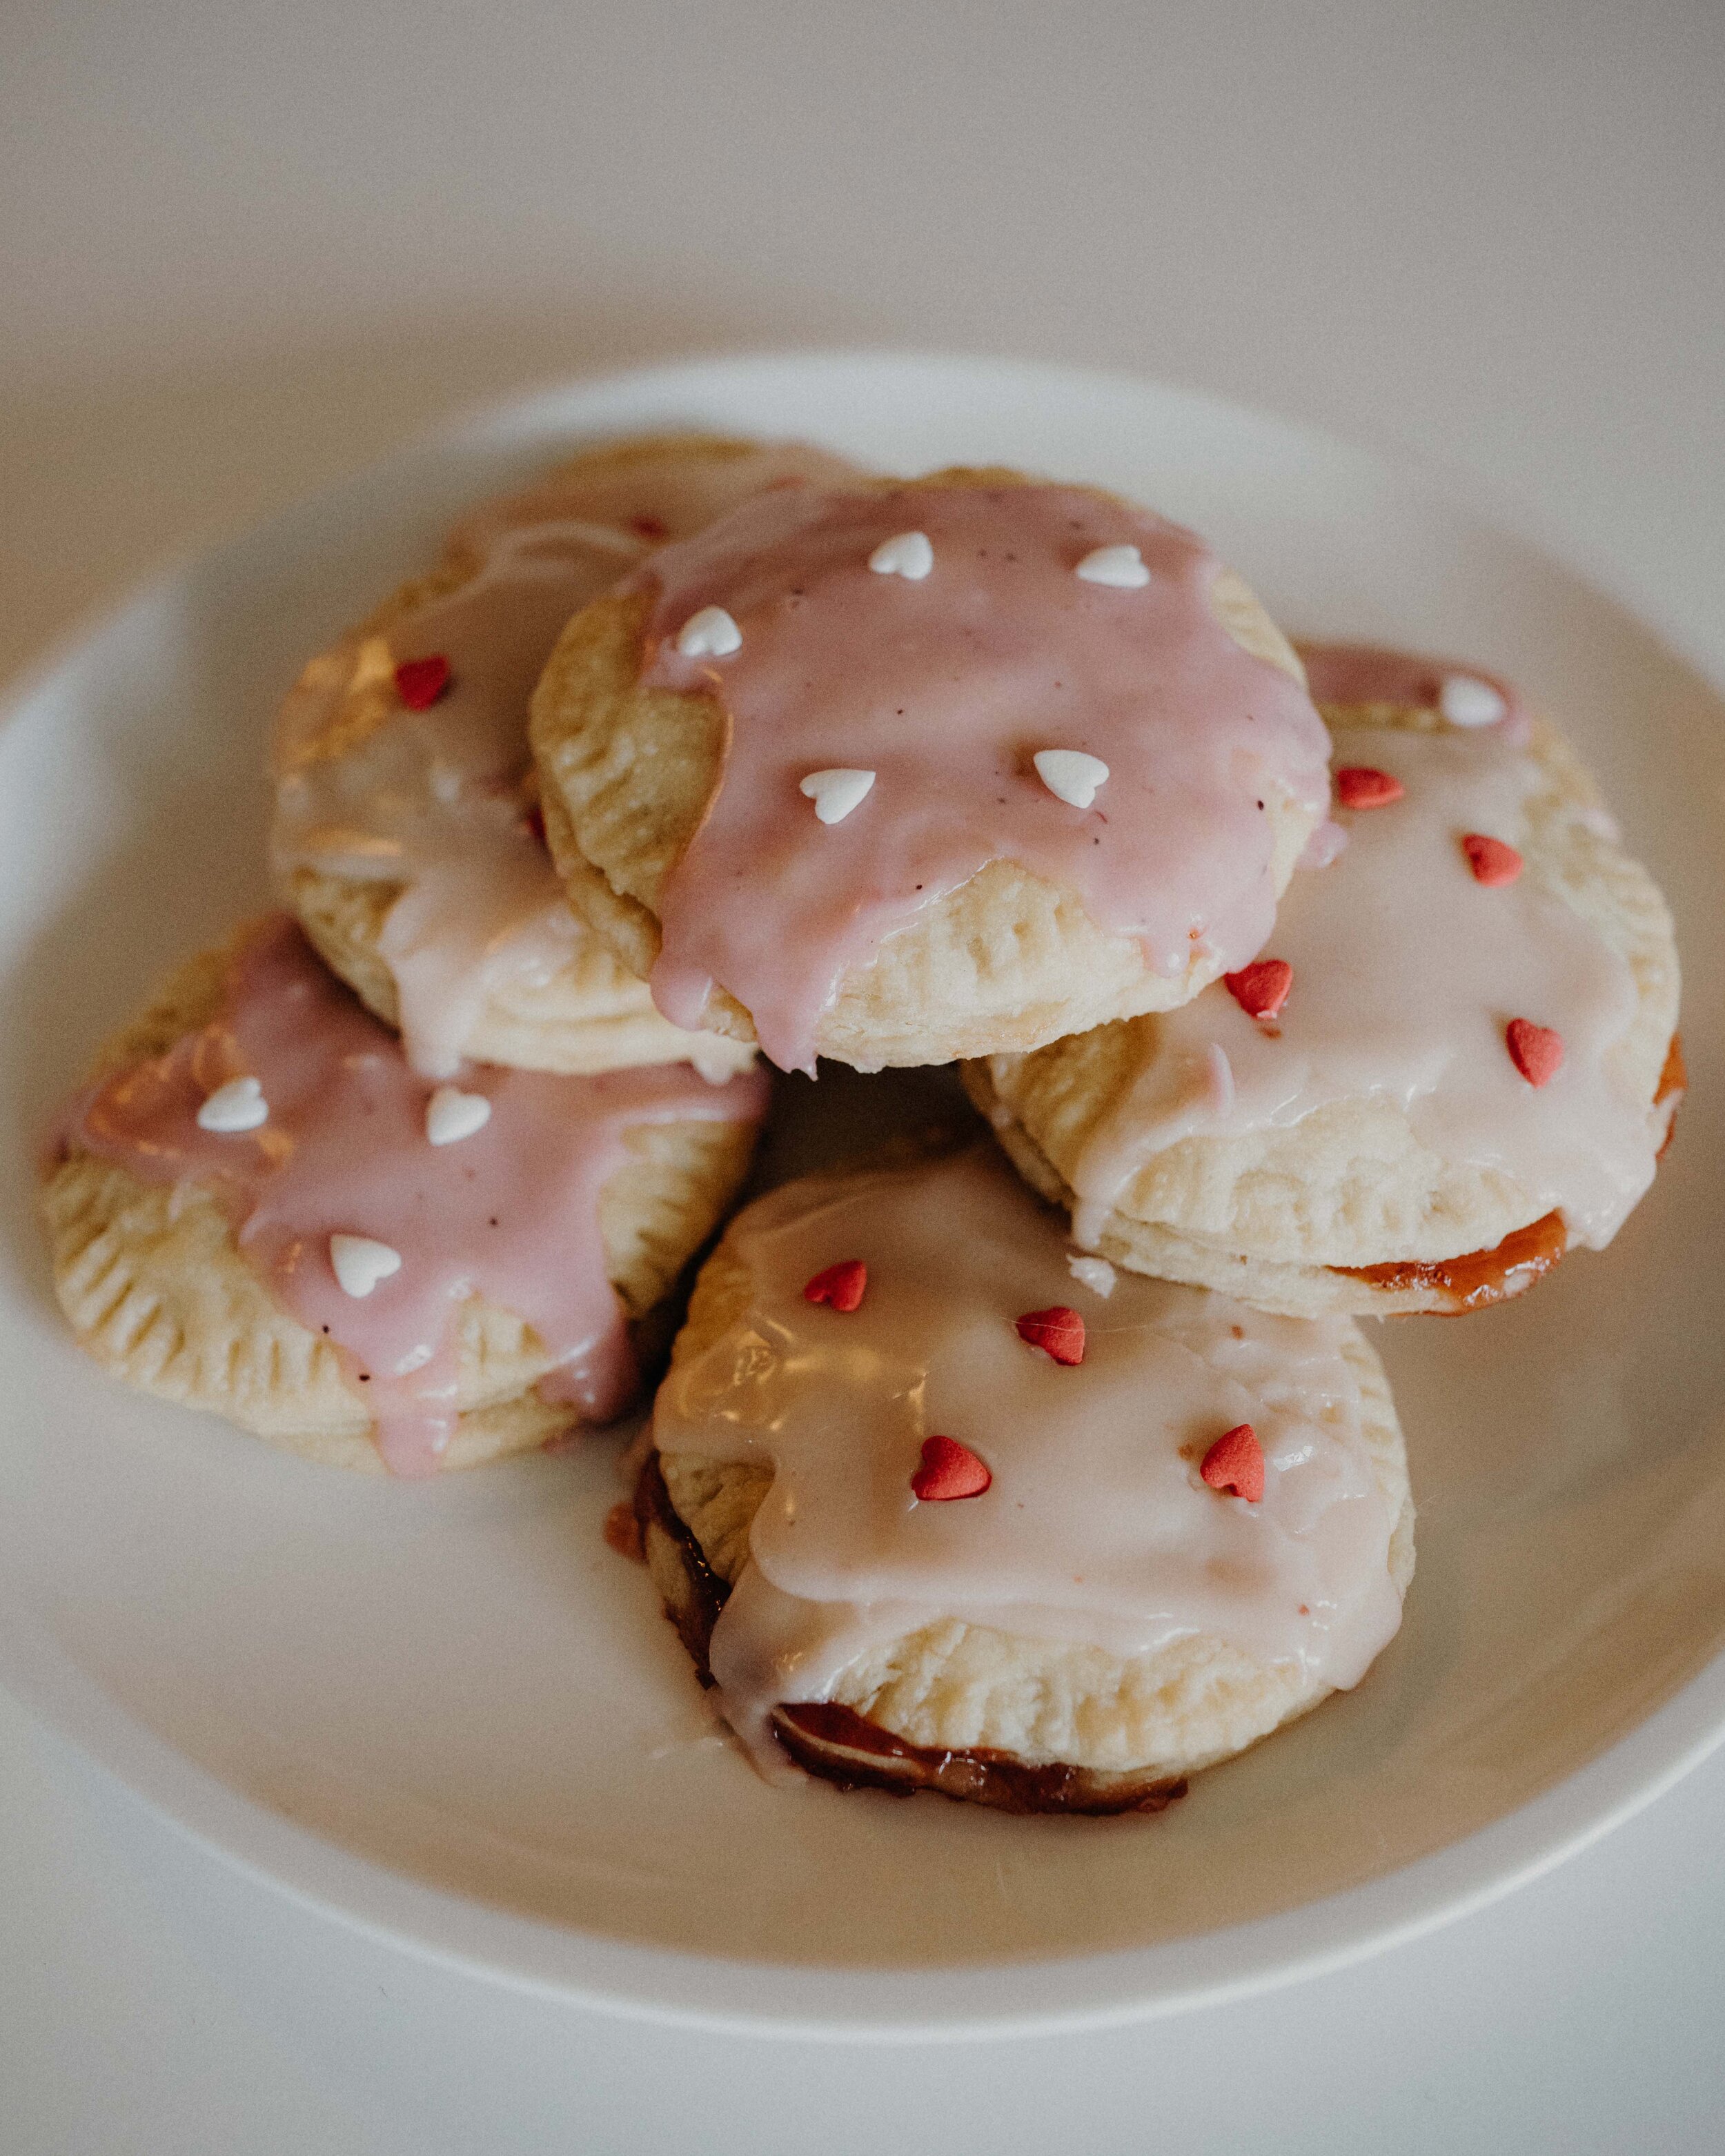
While your Poptarts cool, make the icing by combining the jam, lemon juice, powdered sugar, and almond milk to thin until desired consistency. Mine were a bit runny so if you would like thicker icing, add more powdered sugar.
Once cooled completely, spoon about 1 T icing on top of your Poptarts and decorate to your liking! Enjoy!